Coffee Day: Latte Art and Coffee Cupping Adventures

Today I attended a coffee class at Birch Coffee - on IG @birchcoffee - and I learned so much! The class covered coffee cupping, dialing in espresso shots, preparing milk for coffee drinks, and pouring latte art. I’ve developed a deeper love for specialty coffee and espresso drinks since living in New York City and this summer I took that love to new heights. I’ve done the coffee-shop-observation-journaling, the Instagram-and-YouTube-video-watching (special shoutout to Dritan Alsela!), the trial run as a Barista, and I was definitely ready from some formal, hands-on education. I finally got that today! Details below.
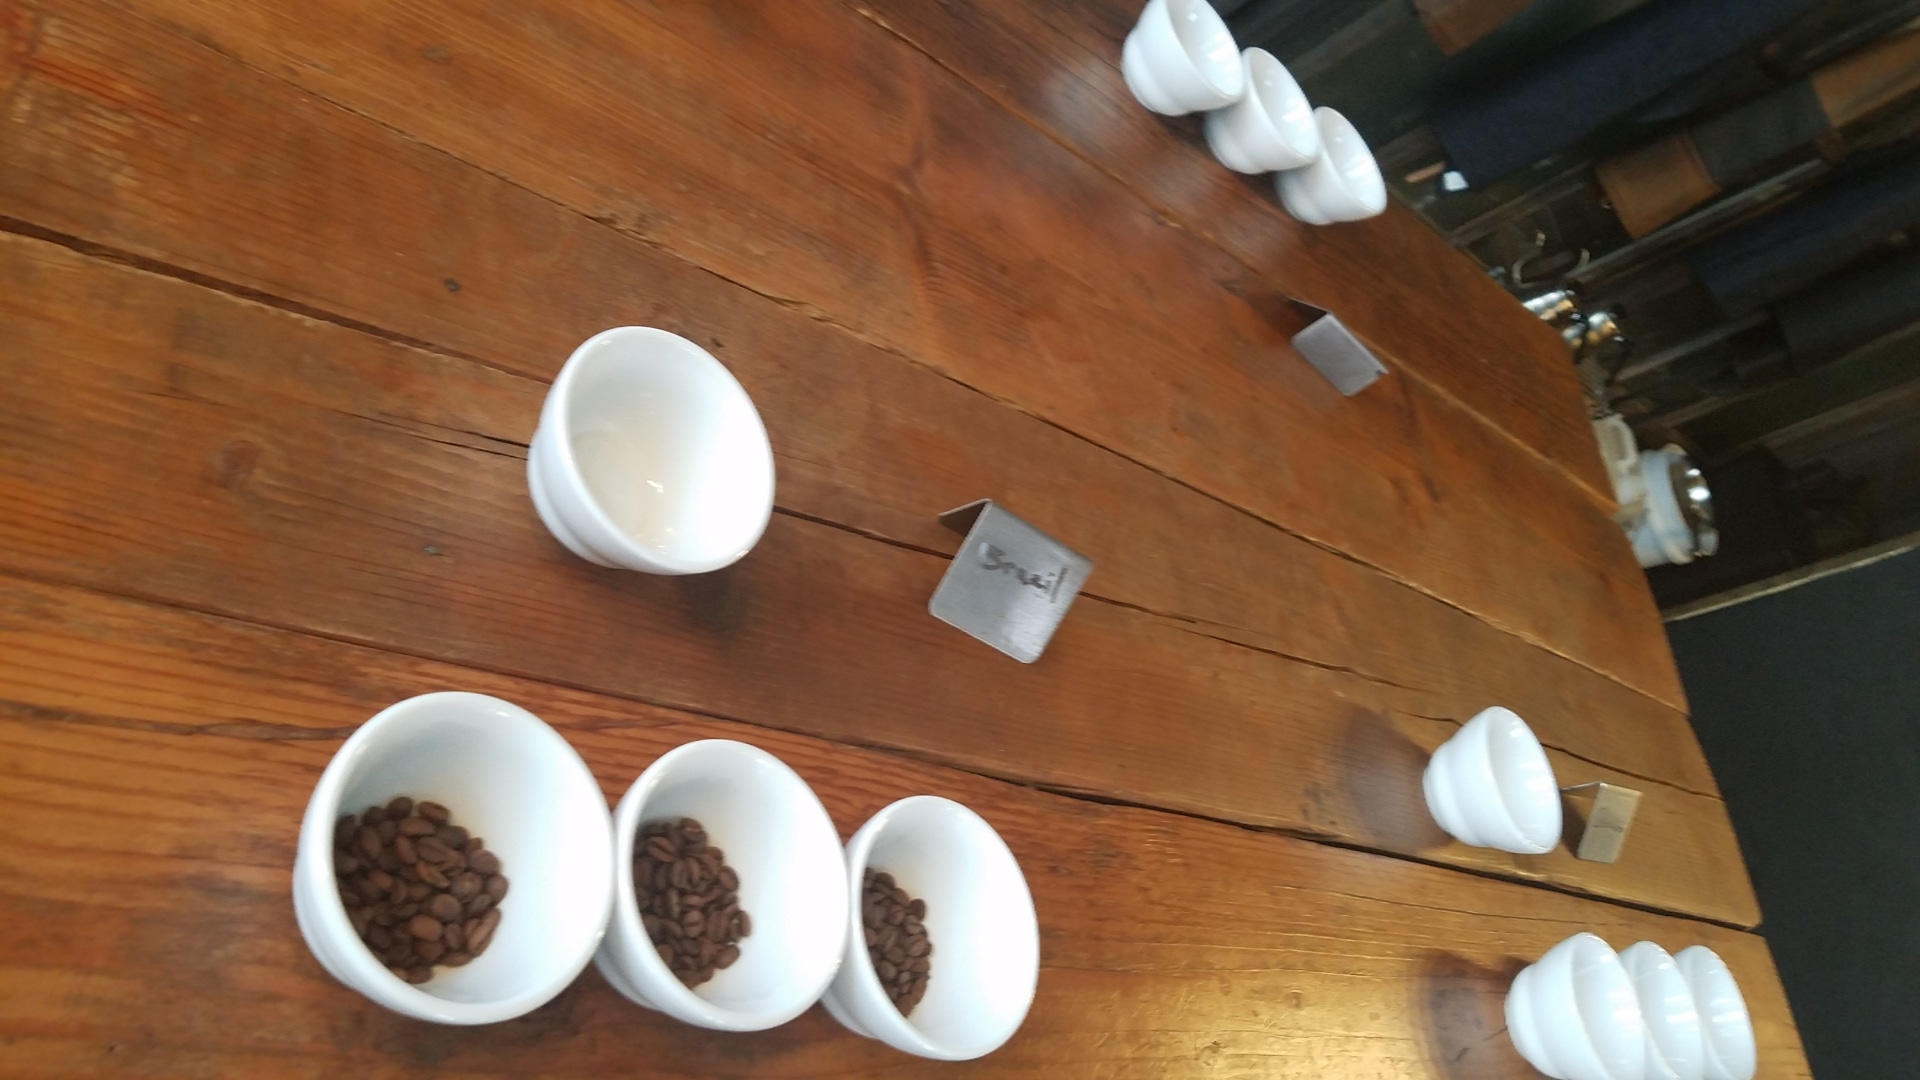
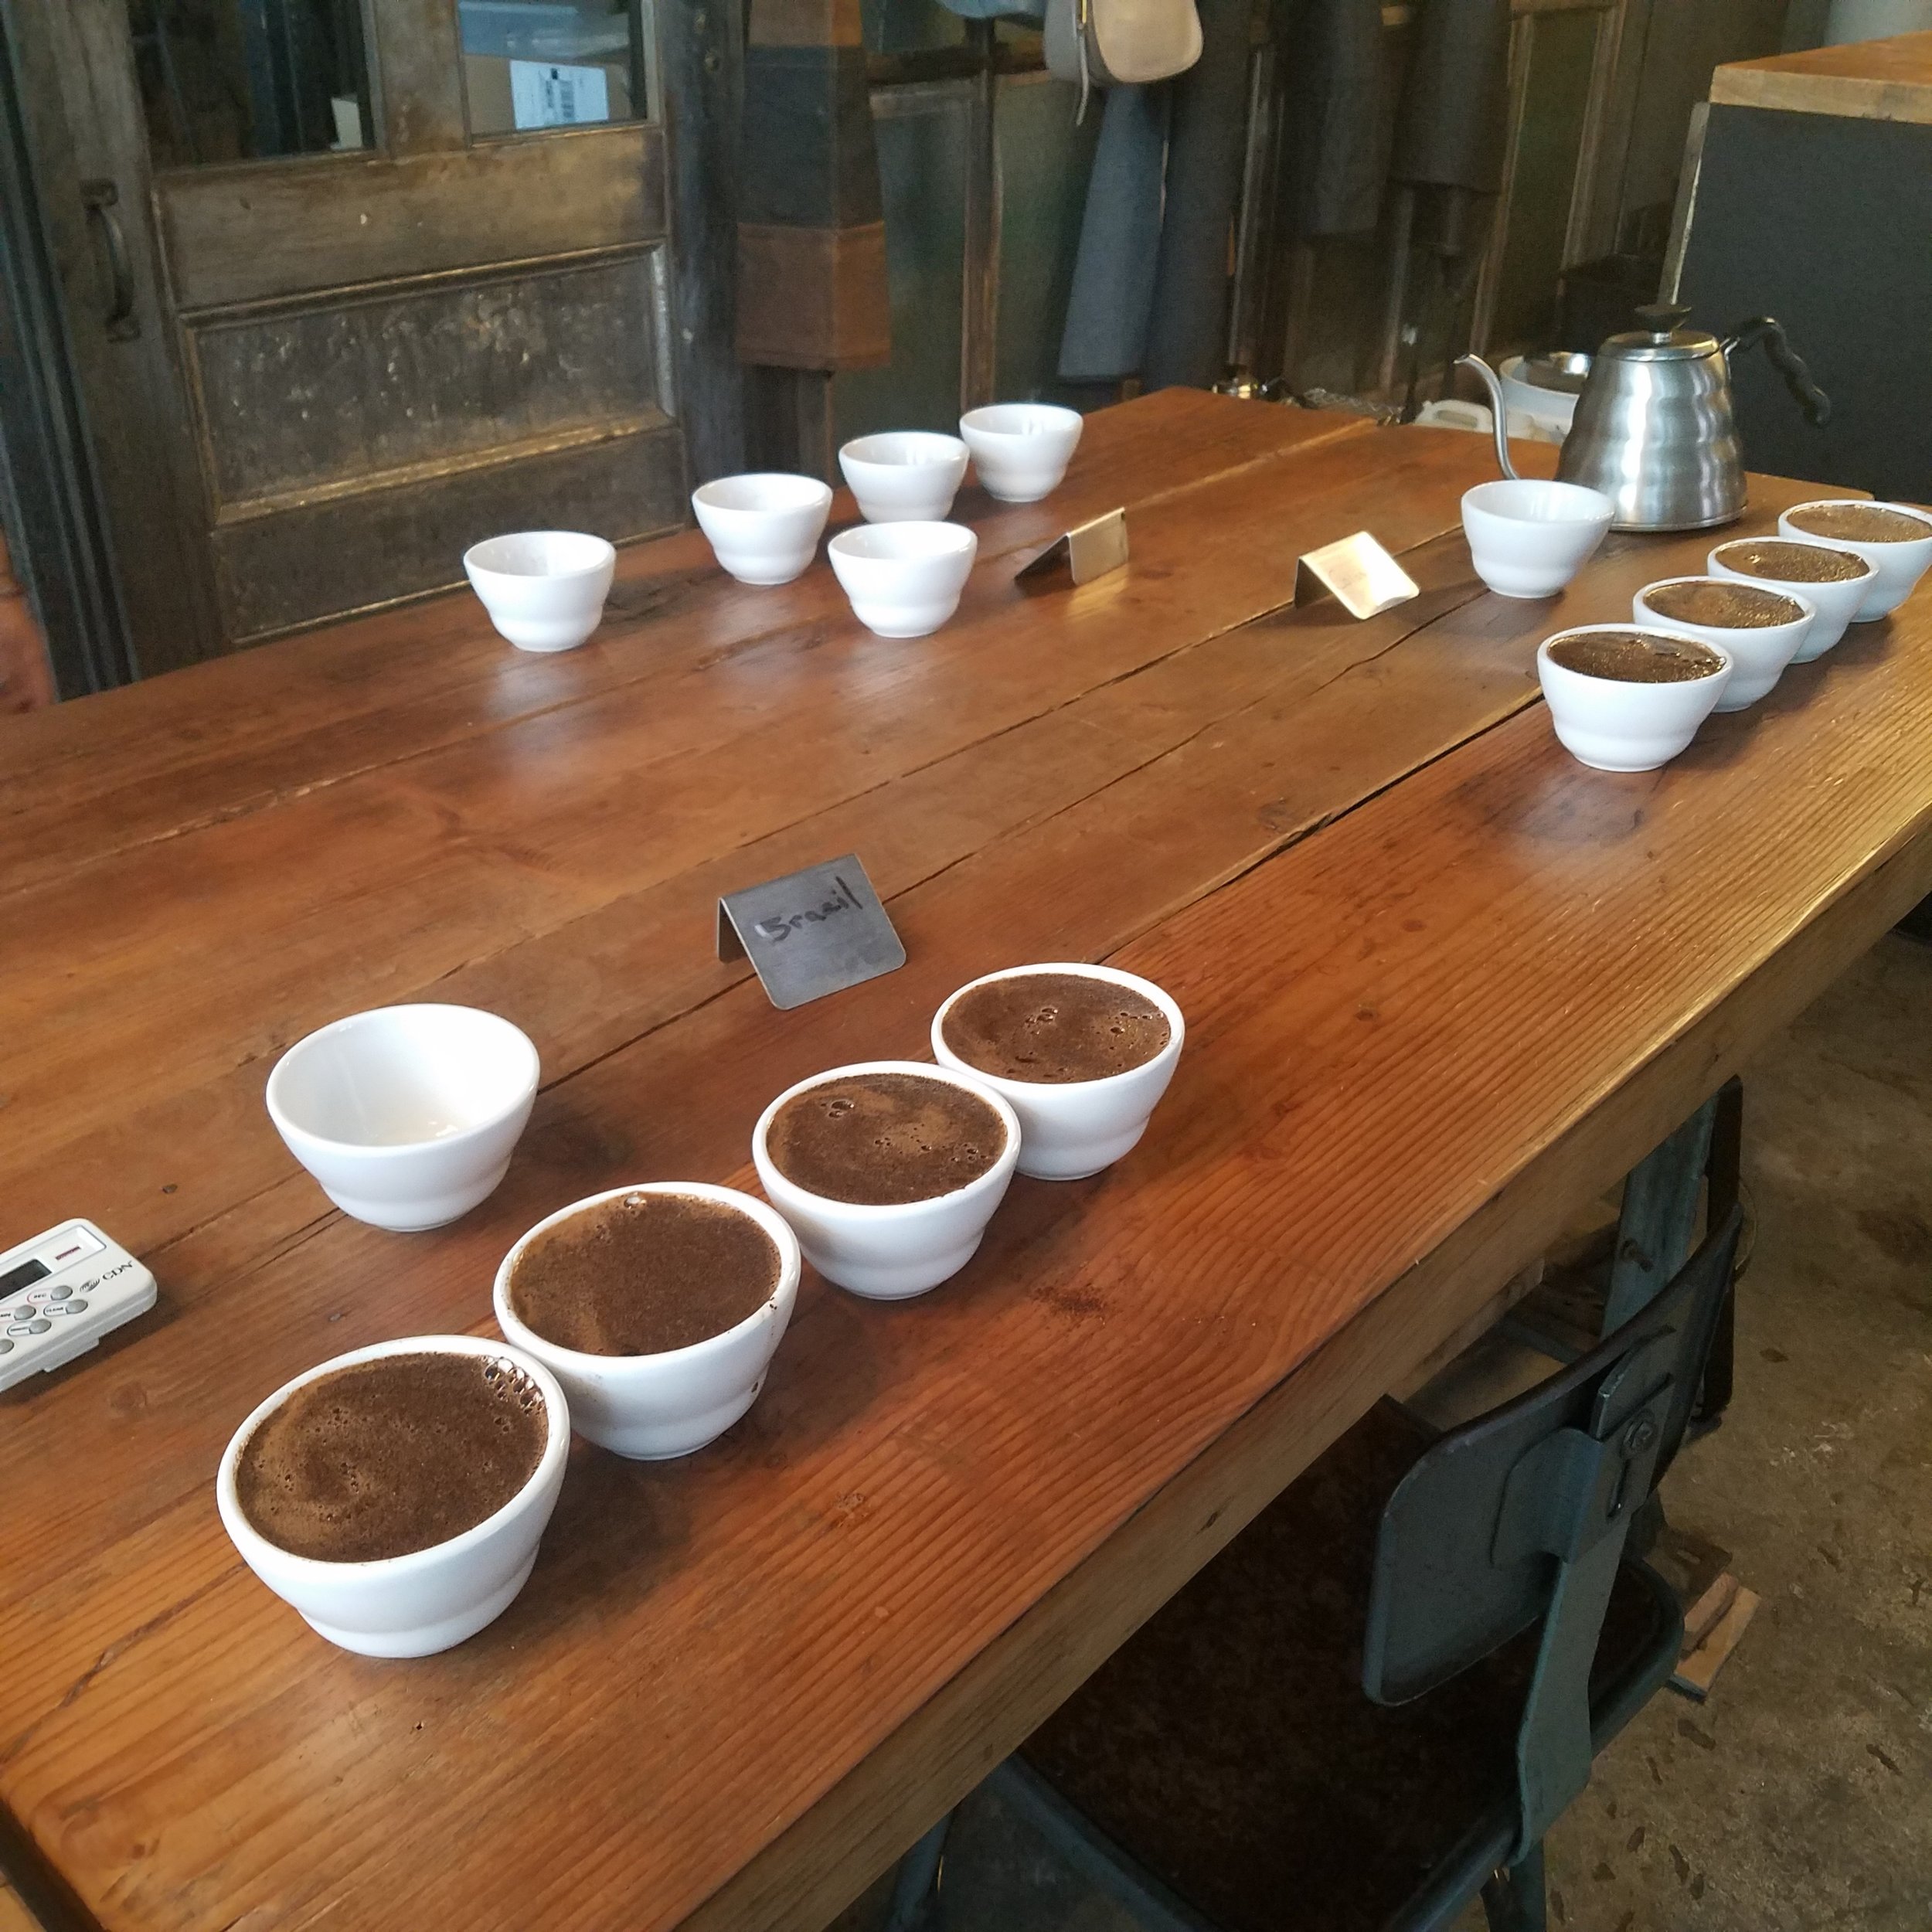
COFFEE CUPPING
This term describes a way of quality testing coffee beans and their resulting coffee through fragrance, aroma, flavor, and body observations. I’ve also seen this process described as coffee tasting or cup tasting. Coffee cupping is done for quality control at coffee origin and production and it is also done for education.
The process begins with a whiff of dry ground beans. This is the “fragrance” test. From here, you would add hot water and whiff after what is called “the break”. The break is essentially using a spoon to stir and break the crust that is formed by the heated coffee beans. The smell you observe here is your “aroma” test. Once the coffee reaches 160 degrees Fahrenheit, you would move on to the “flavor” test. Our instructor John mentioned that flavor is the combination of taste and aroma. A second round of tasting would then give you the viscosity or “body” test where, I believe, the heavier the body, the better the cup of coffee. Along the way, John shared some terms to use when describing our observations. These included “fruity”, “nutty”, “floral”, and “chocolate”. See photos below for a peek into my experience.
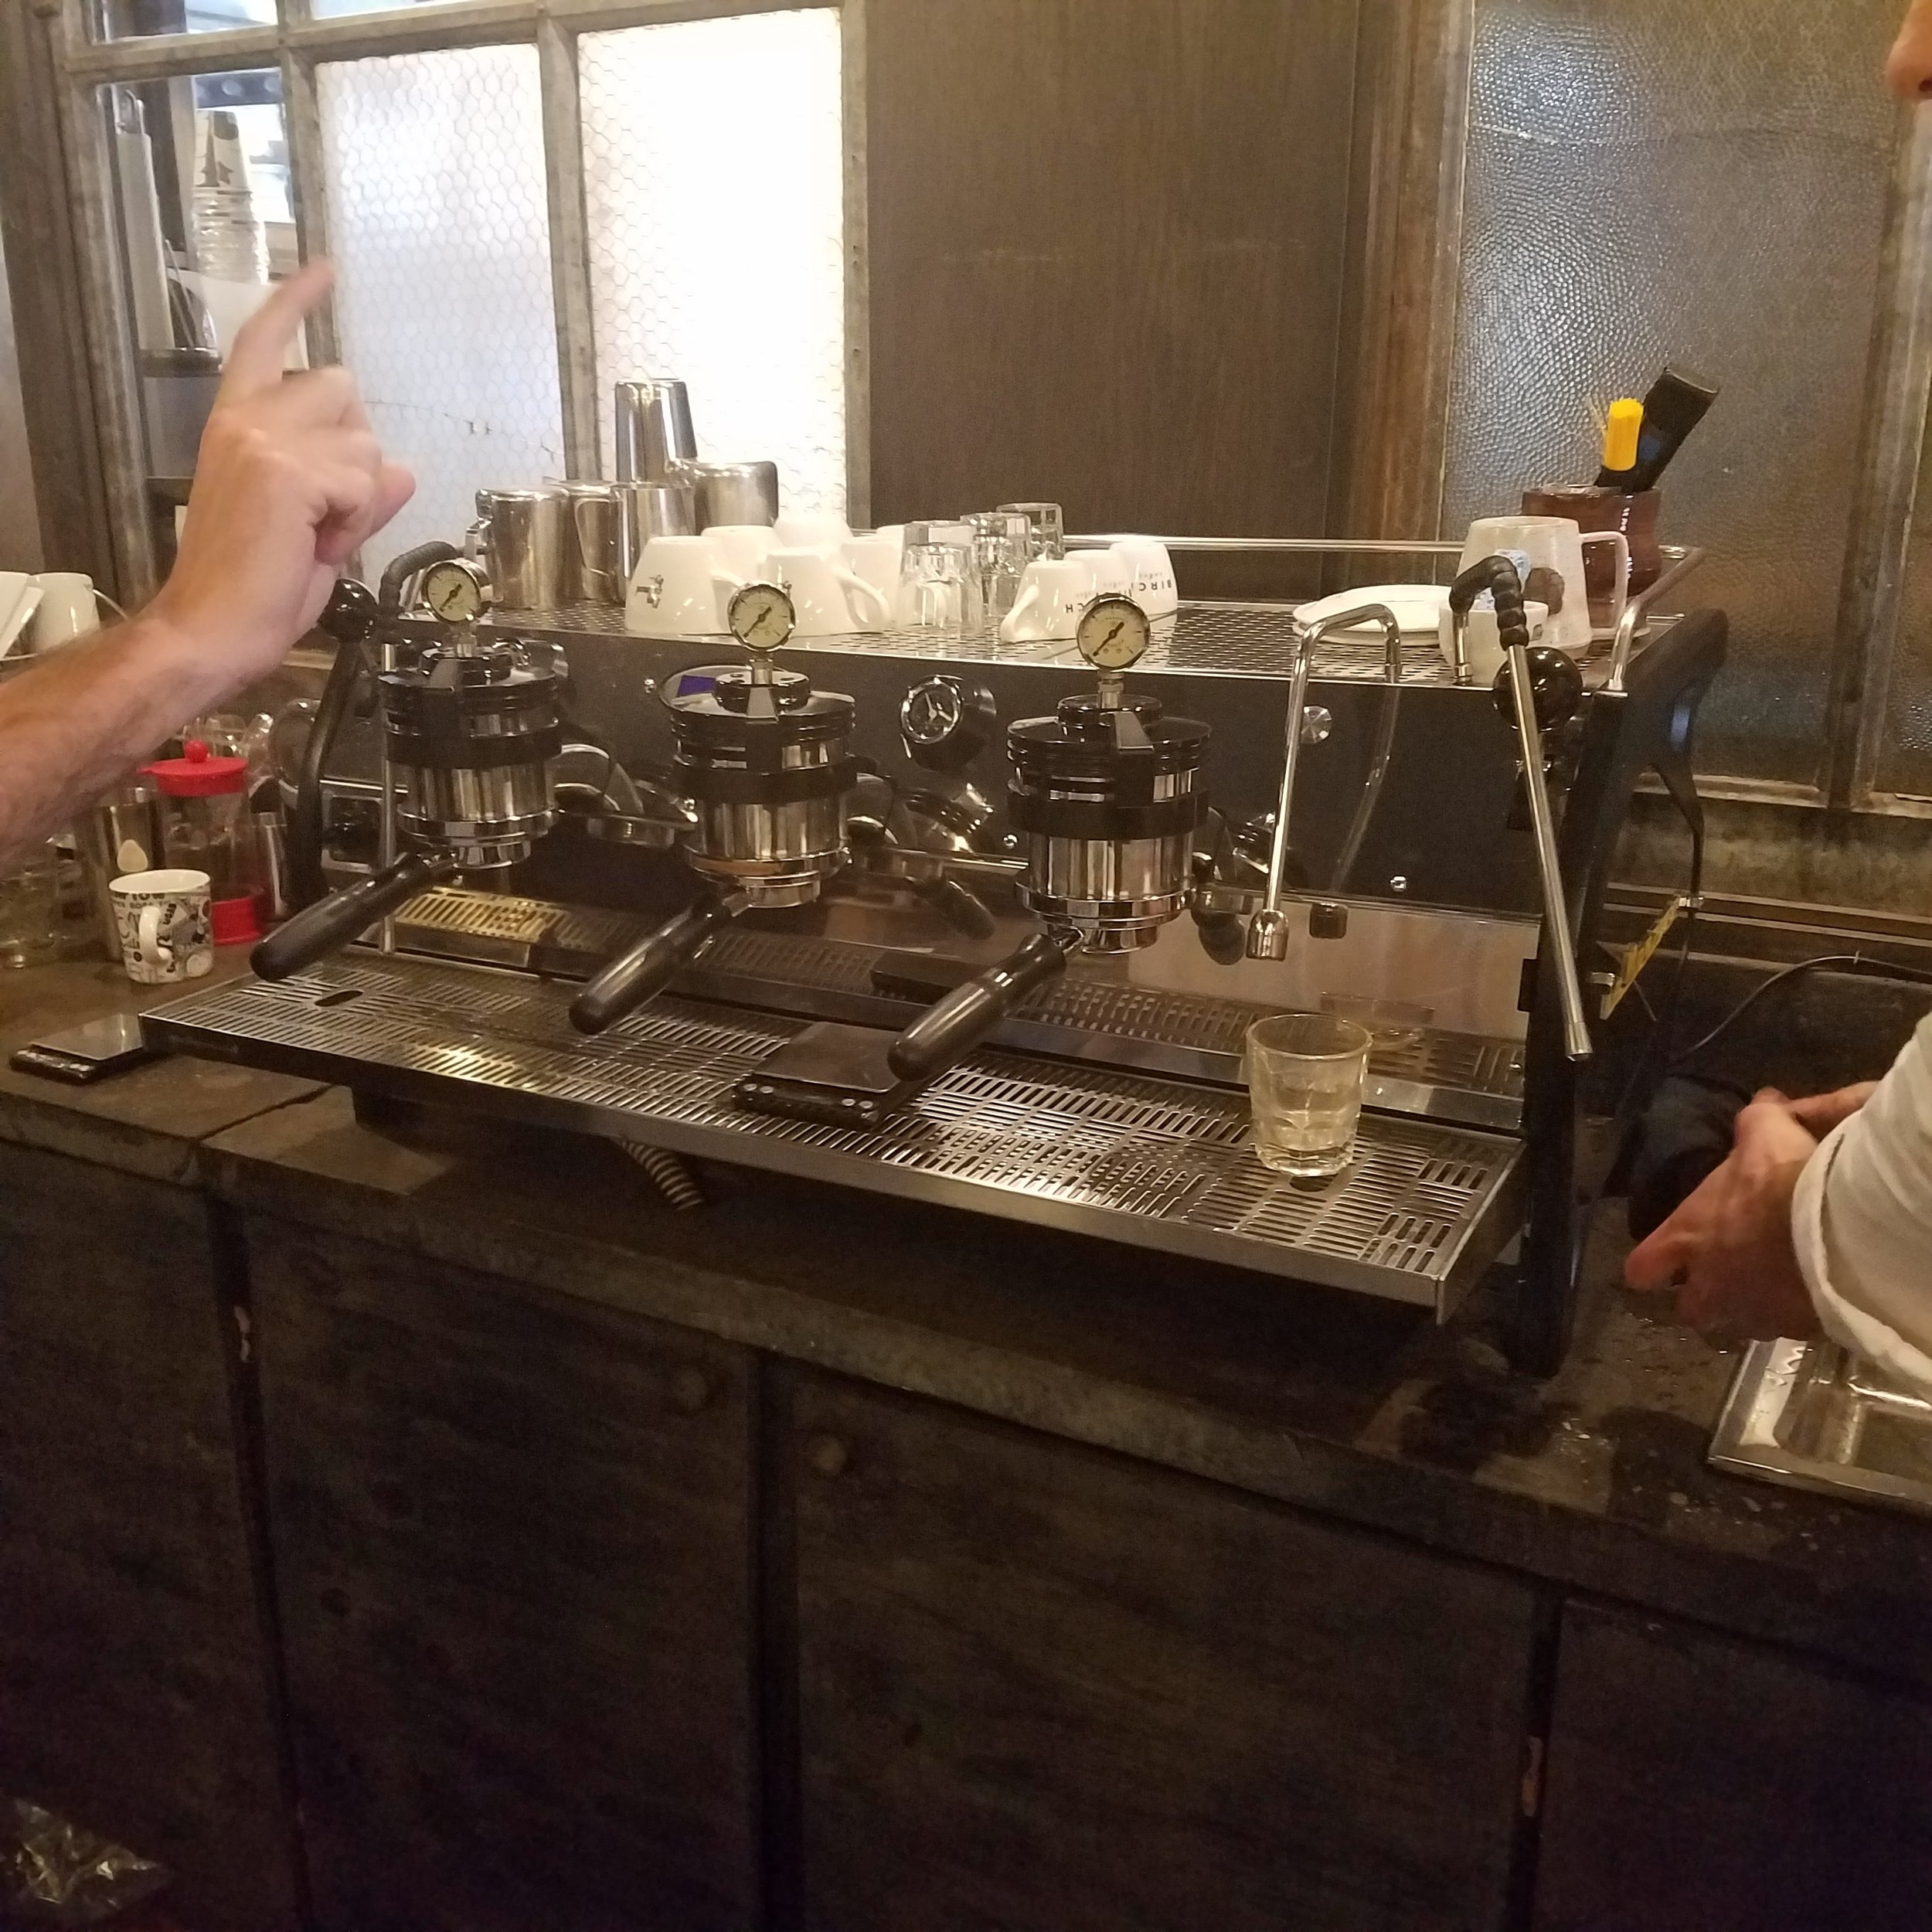
DIALING IN ESPRESSO SHOTS
Under-extraction and over-extraction are key terms to know and situations to avoid as much as you can. We learned how to taste for both and also learned the effects of time (in seconds), yield (in grams), and dose (in grams; generally tweaked by coarse vs fine grind levels). This part was incredibly important and not the most enjoyable since we endured tasting some very bad espresso shots (hahahahaha). At the end, I felt that my sense of a perfectly extracted (at least as perfectly as humanly possible) espresso shot was sharpened.
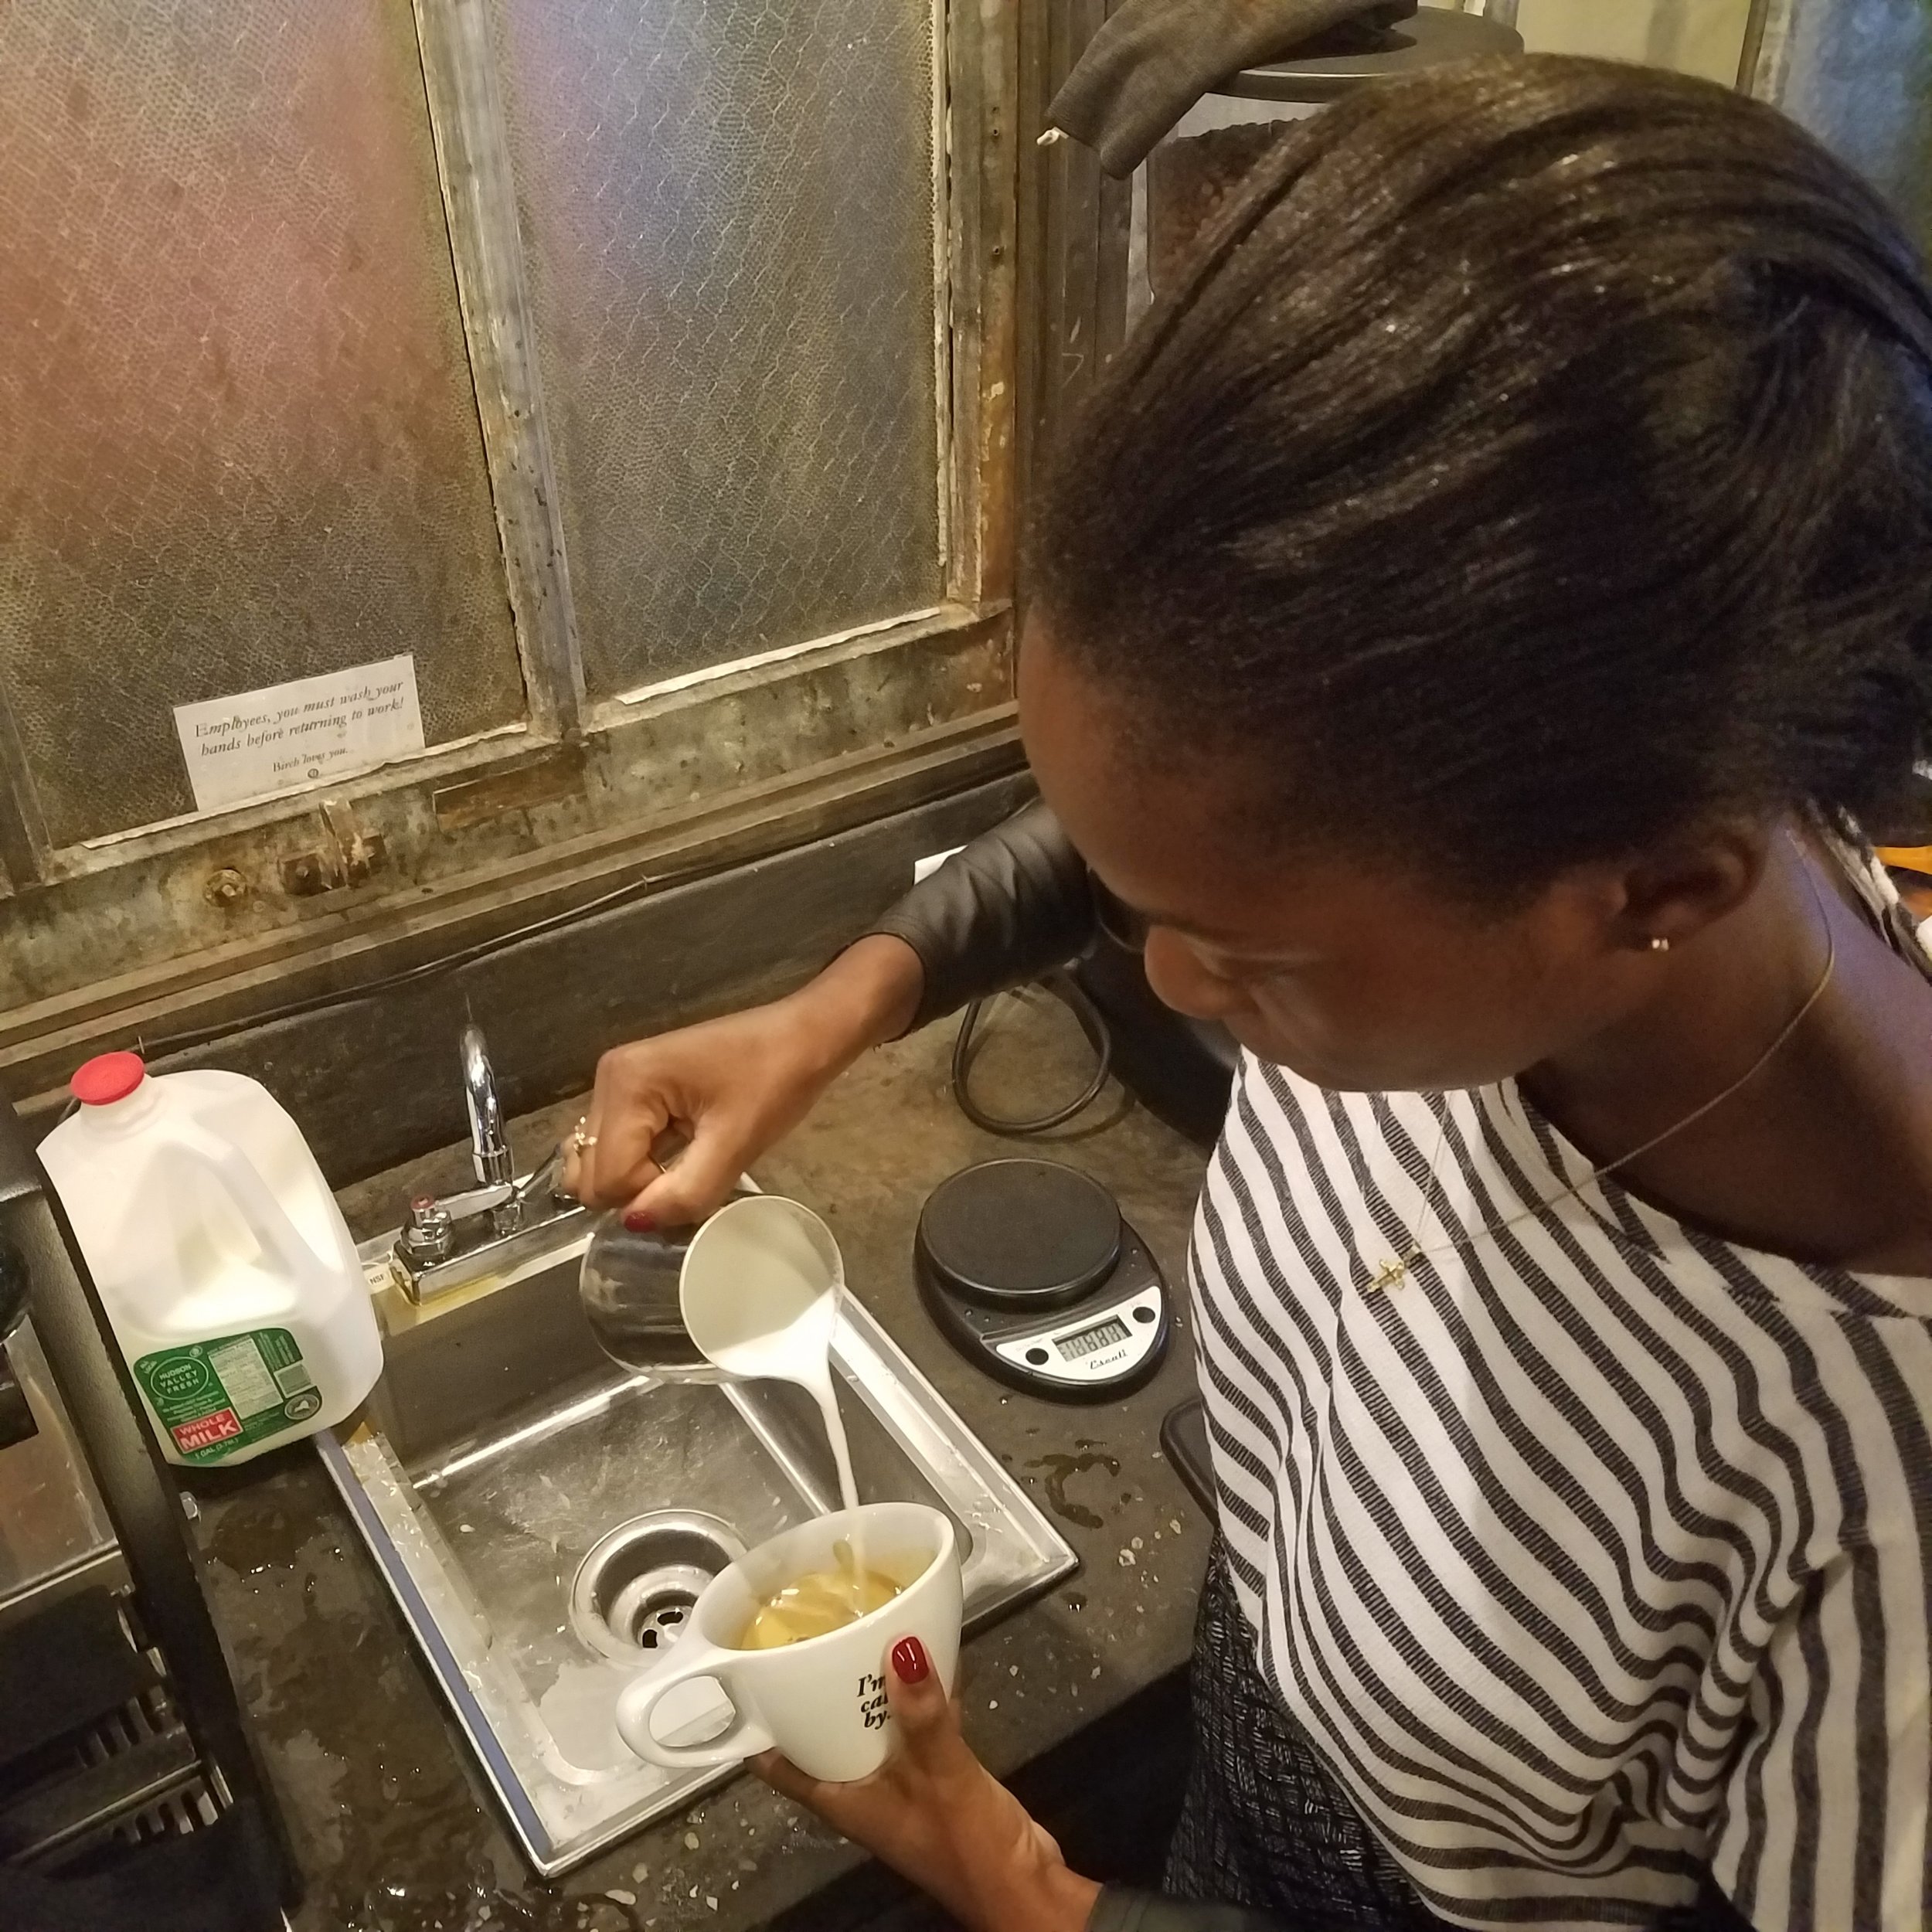
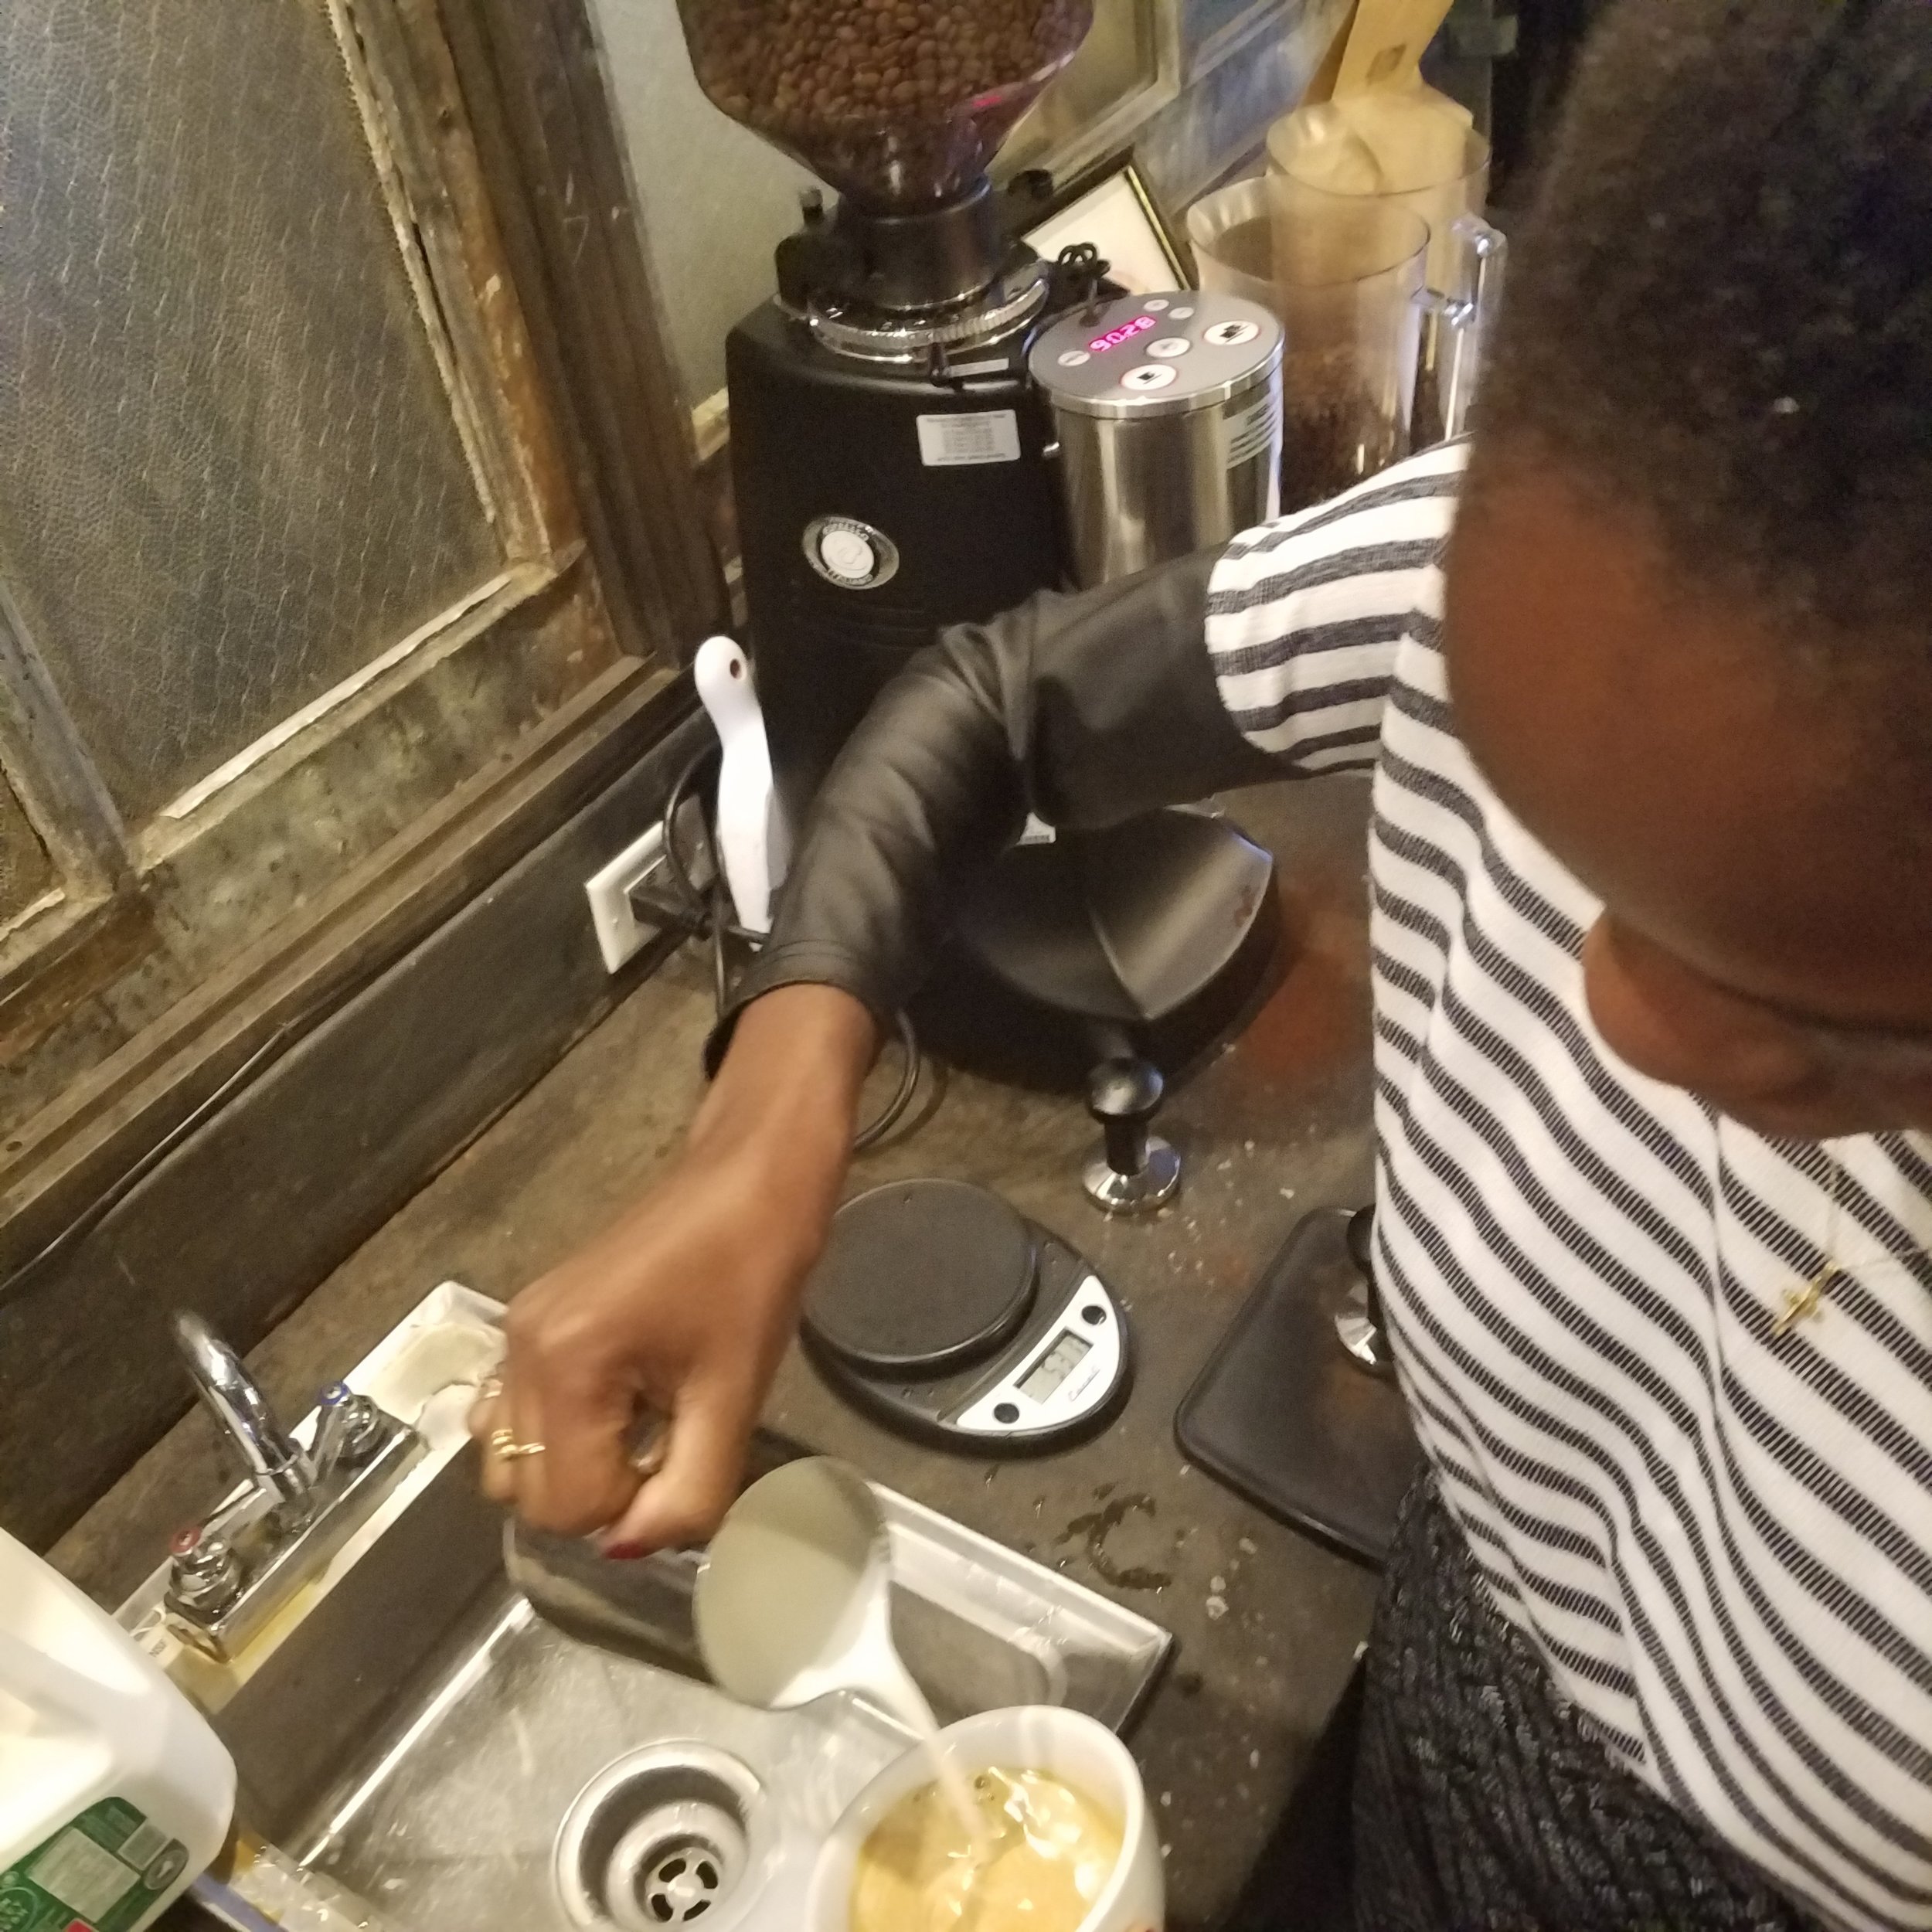
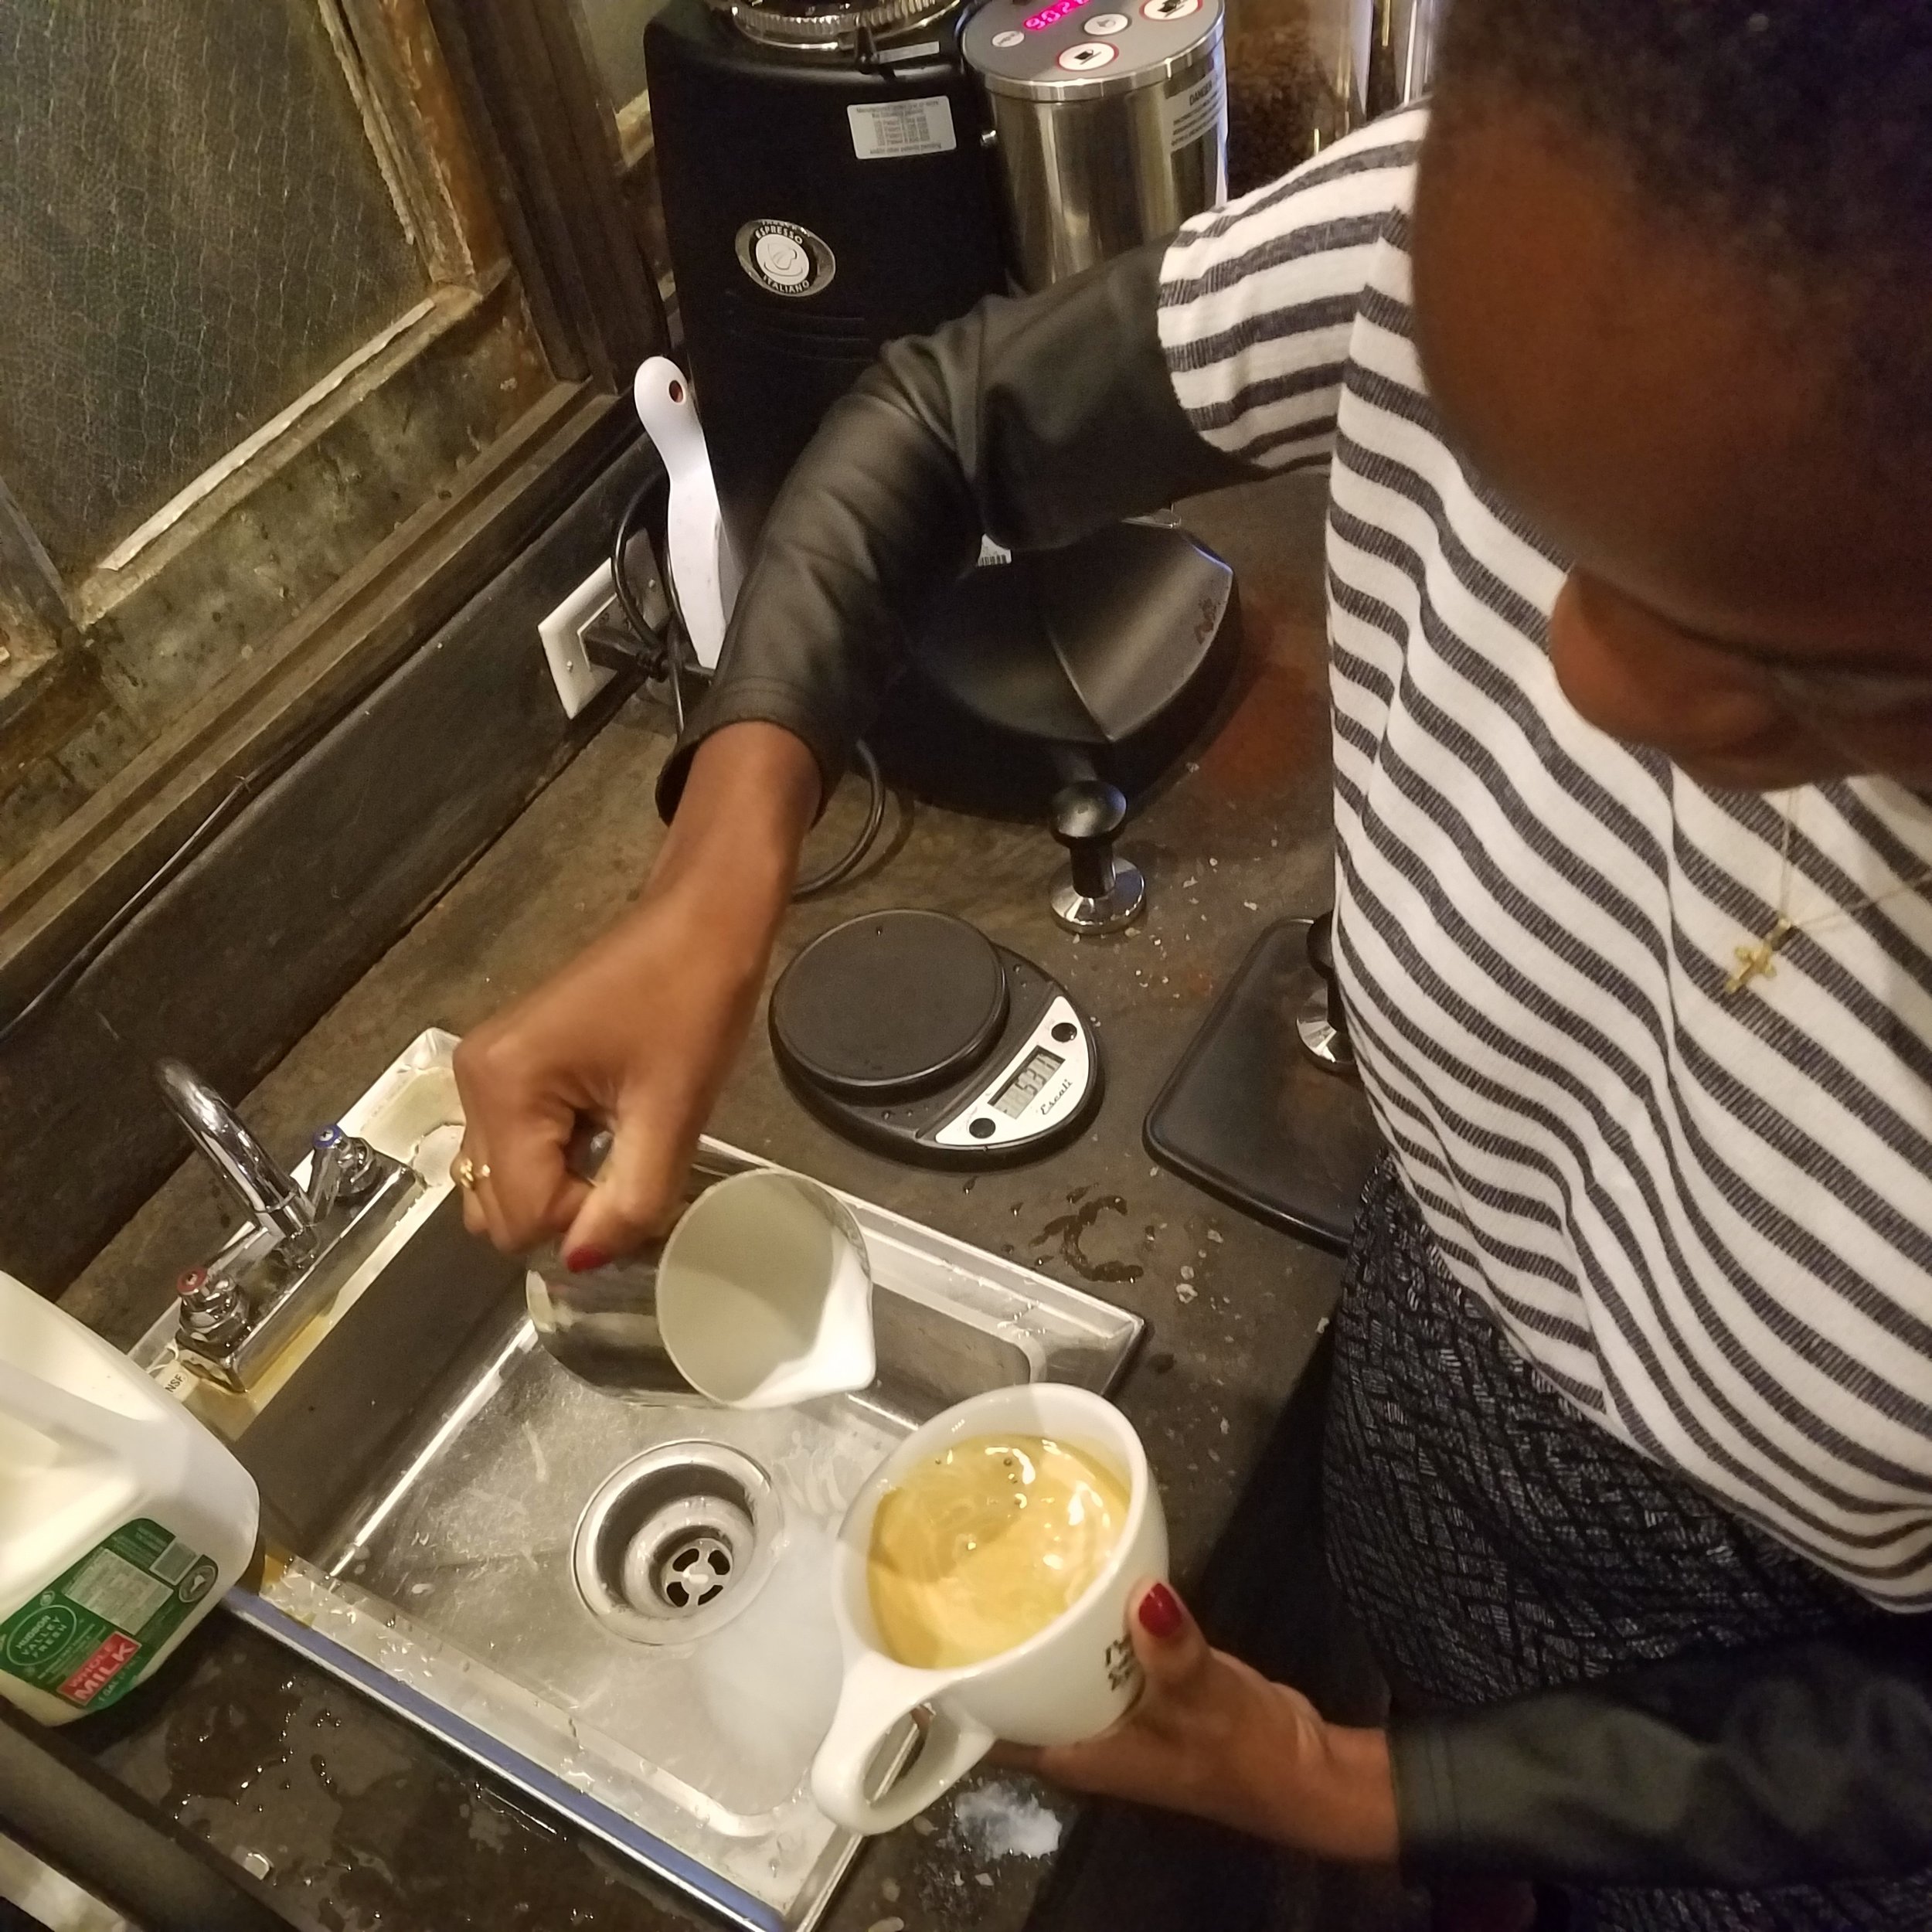
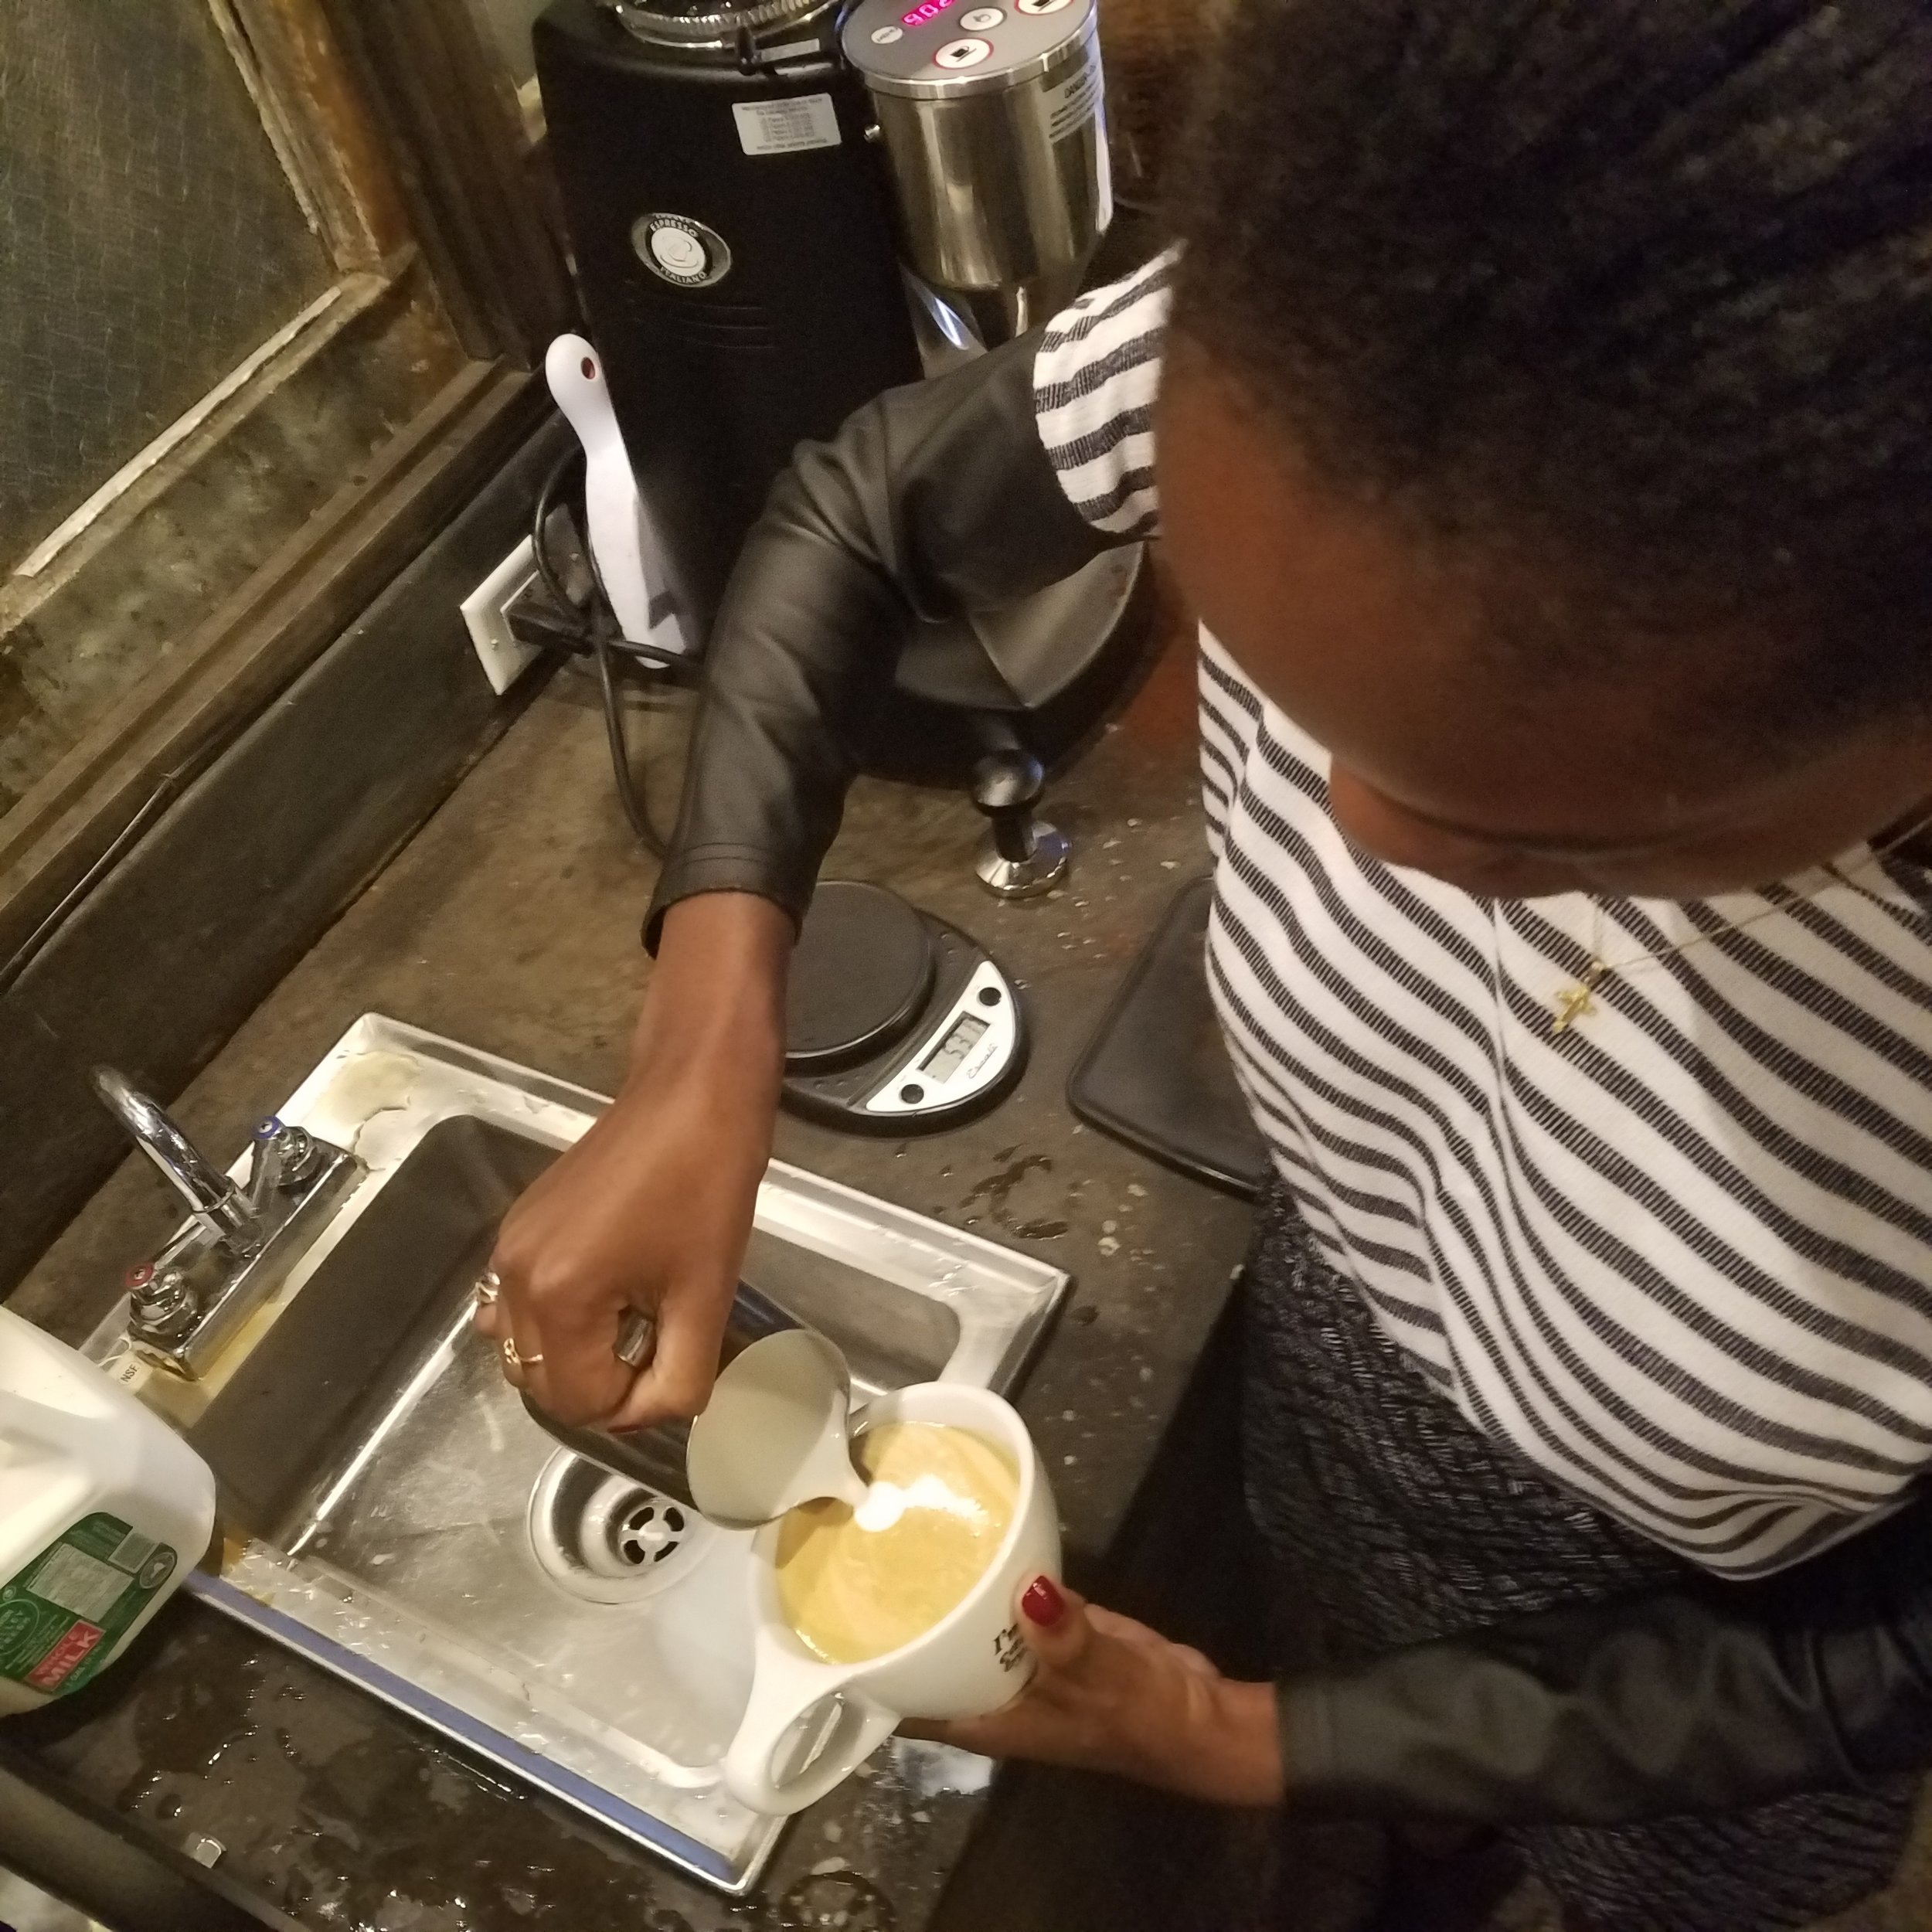
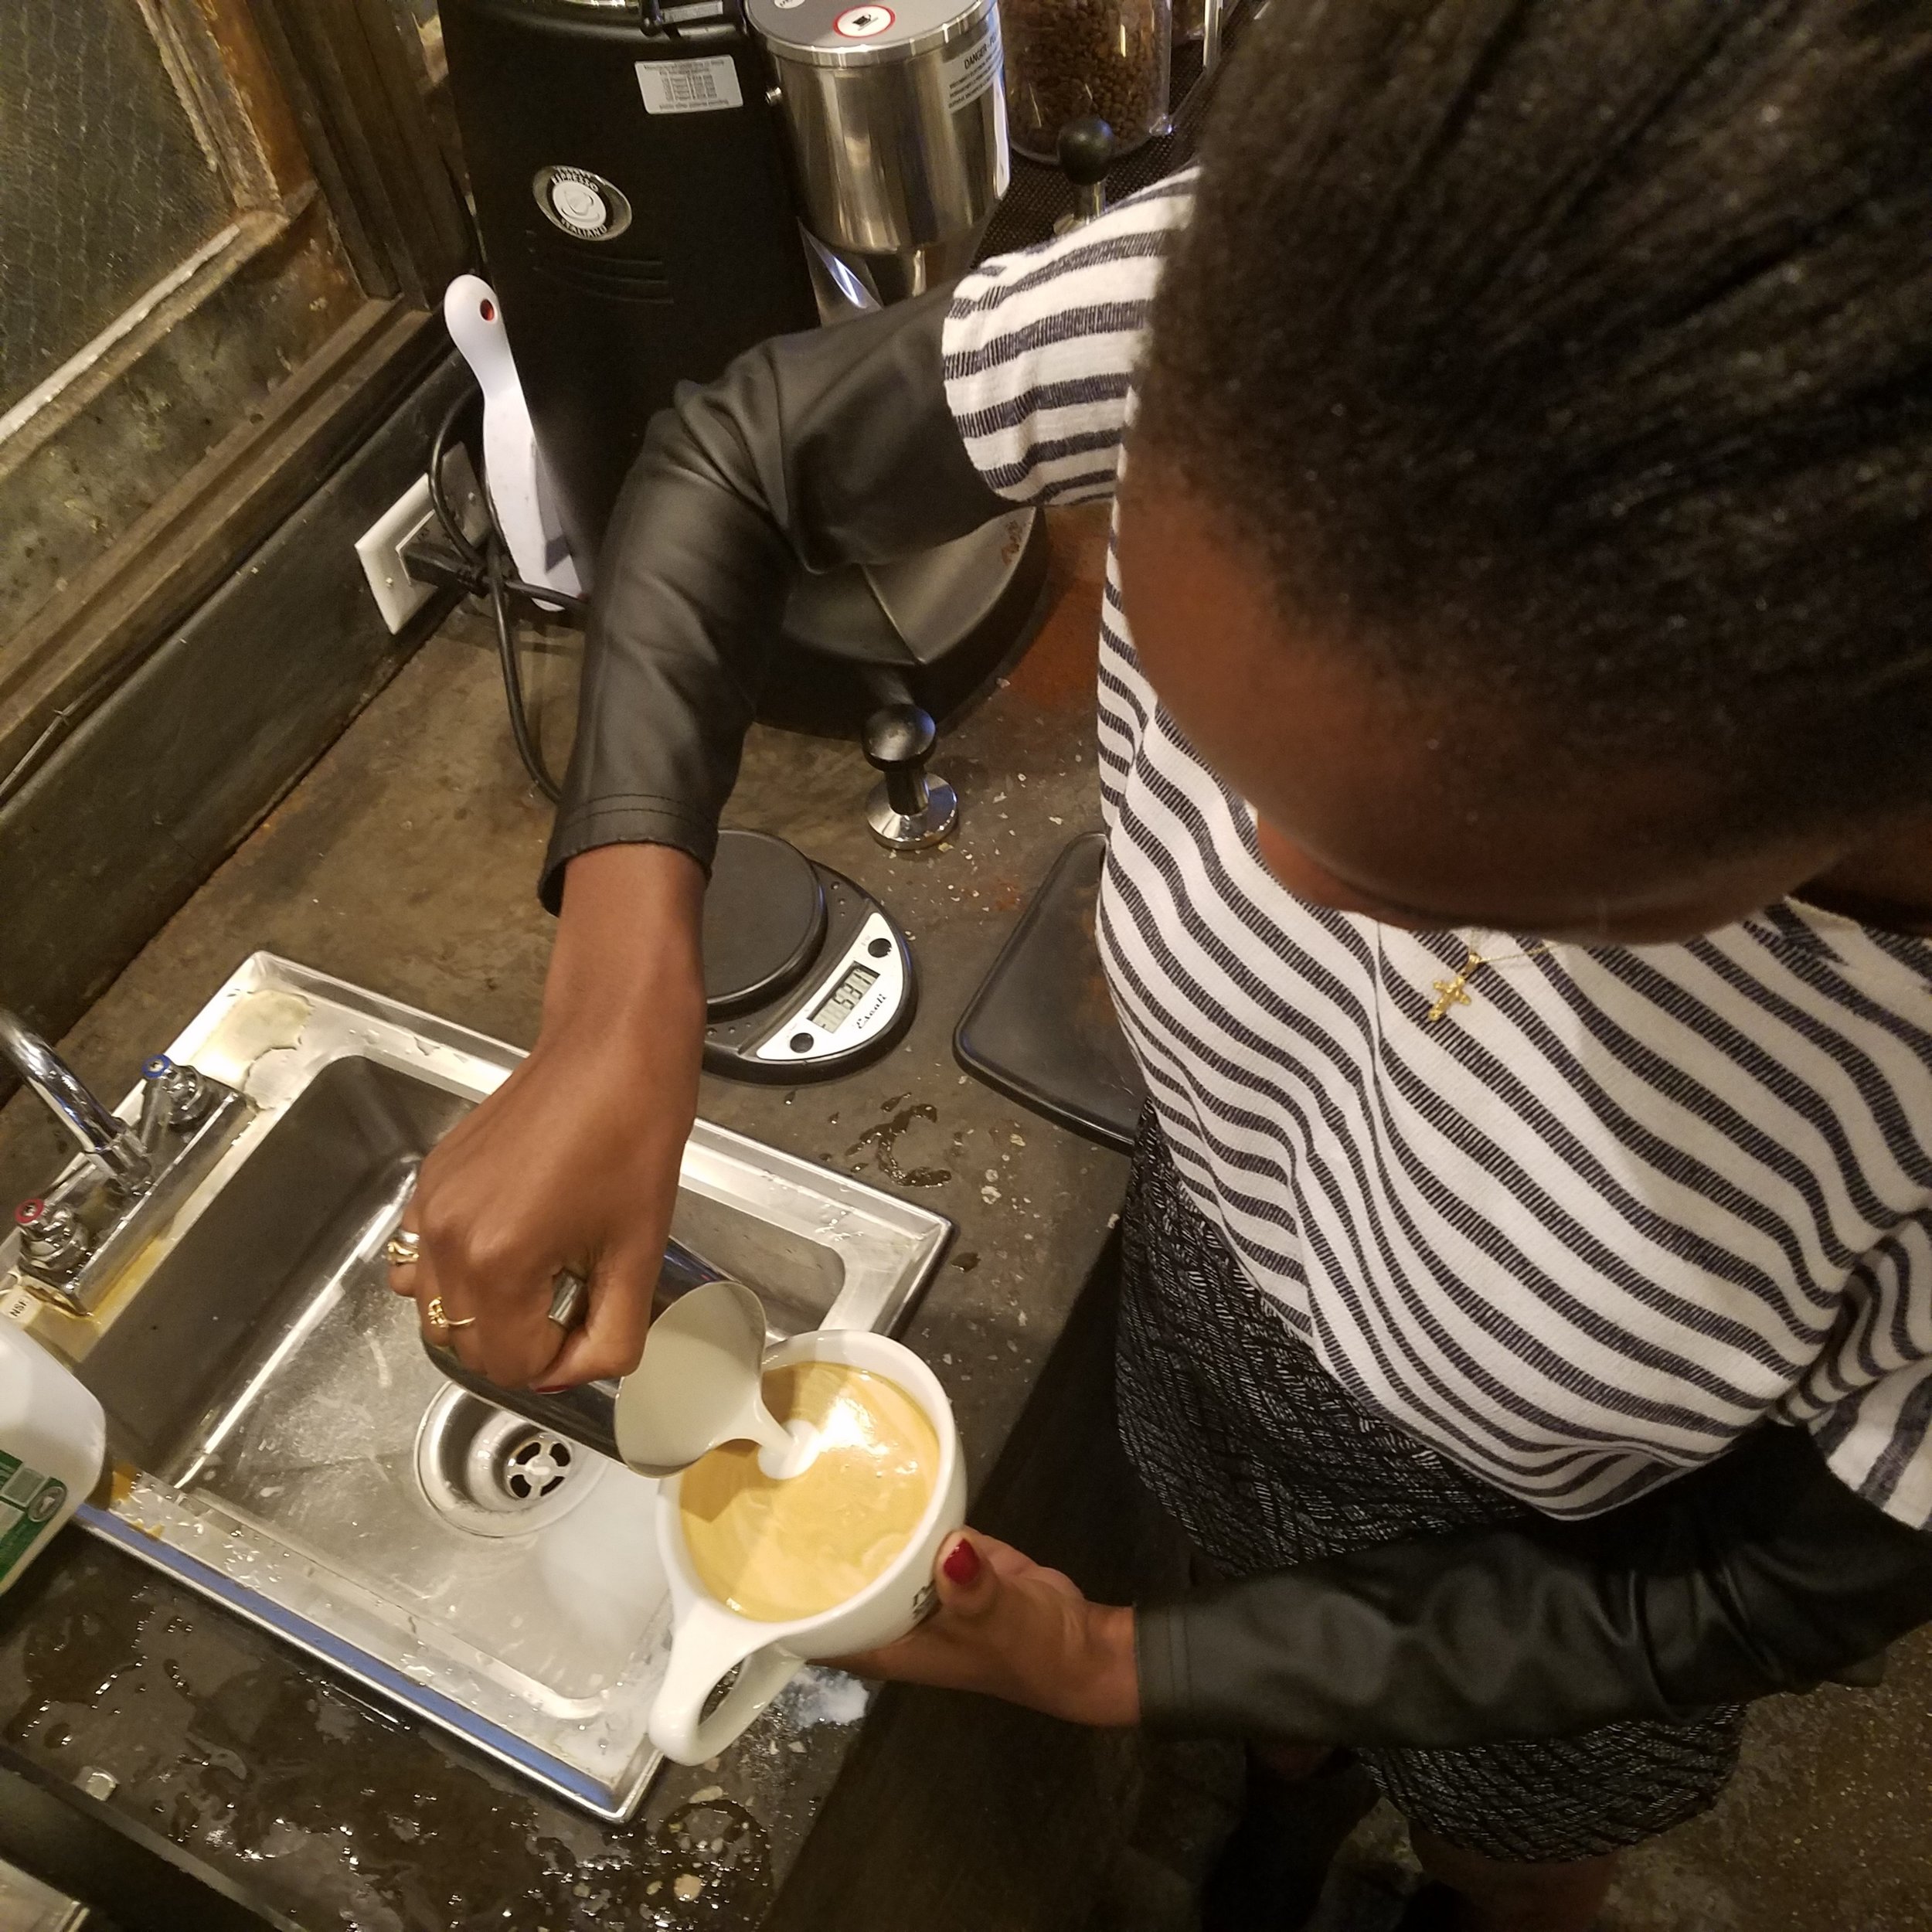
MILK
Now, when it comes to milk, my largest curiosity going into today’s class was to learn the differences in latte milk versus cappuccino milk. I first learned that the difference was the amount of froth. Today I learned that you can froth milk the same way and just adjust the amount of milk going in (and use a smaller cup for cappuccinos). Amazing. This seems to be an area where baristas and coffee shop owners can have a bit of flexibility. If I’m wrong here, please do let me know.
I also learned new techniques for steaming milk to achieve the proper froth levels required for coffee drinks.

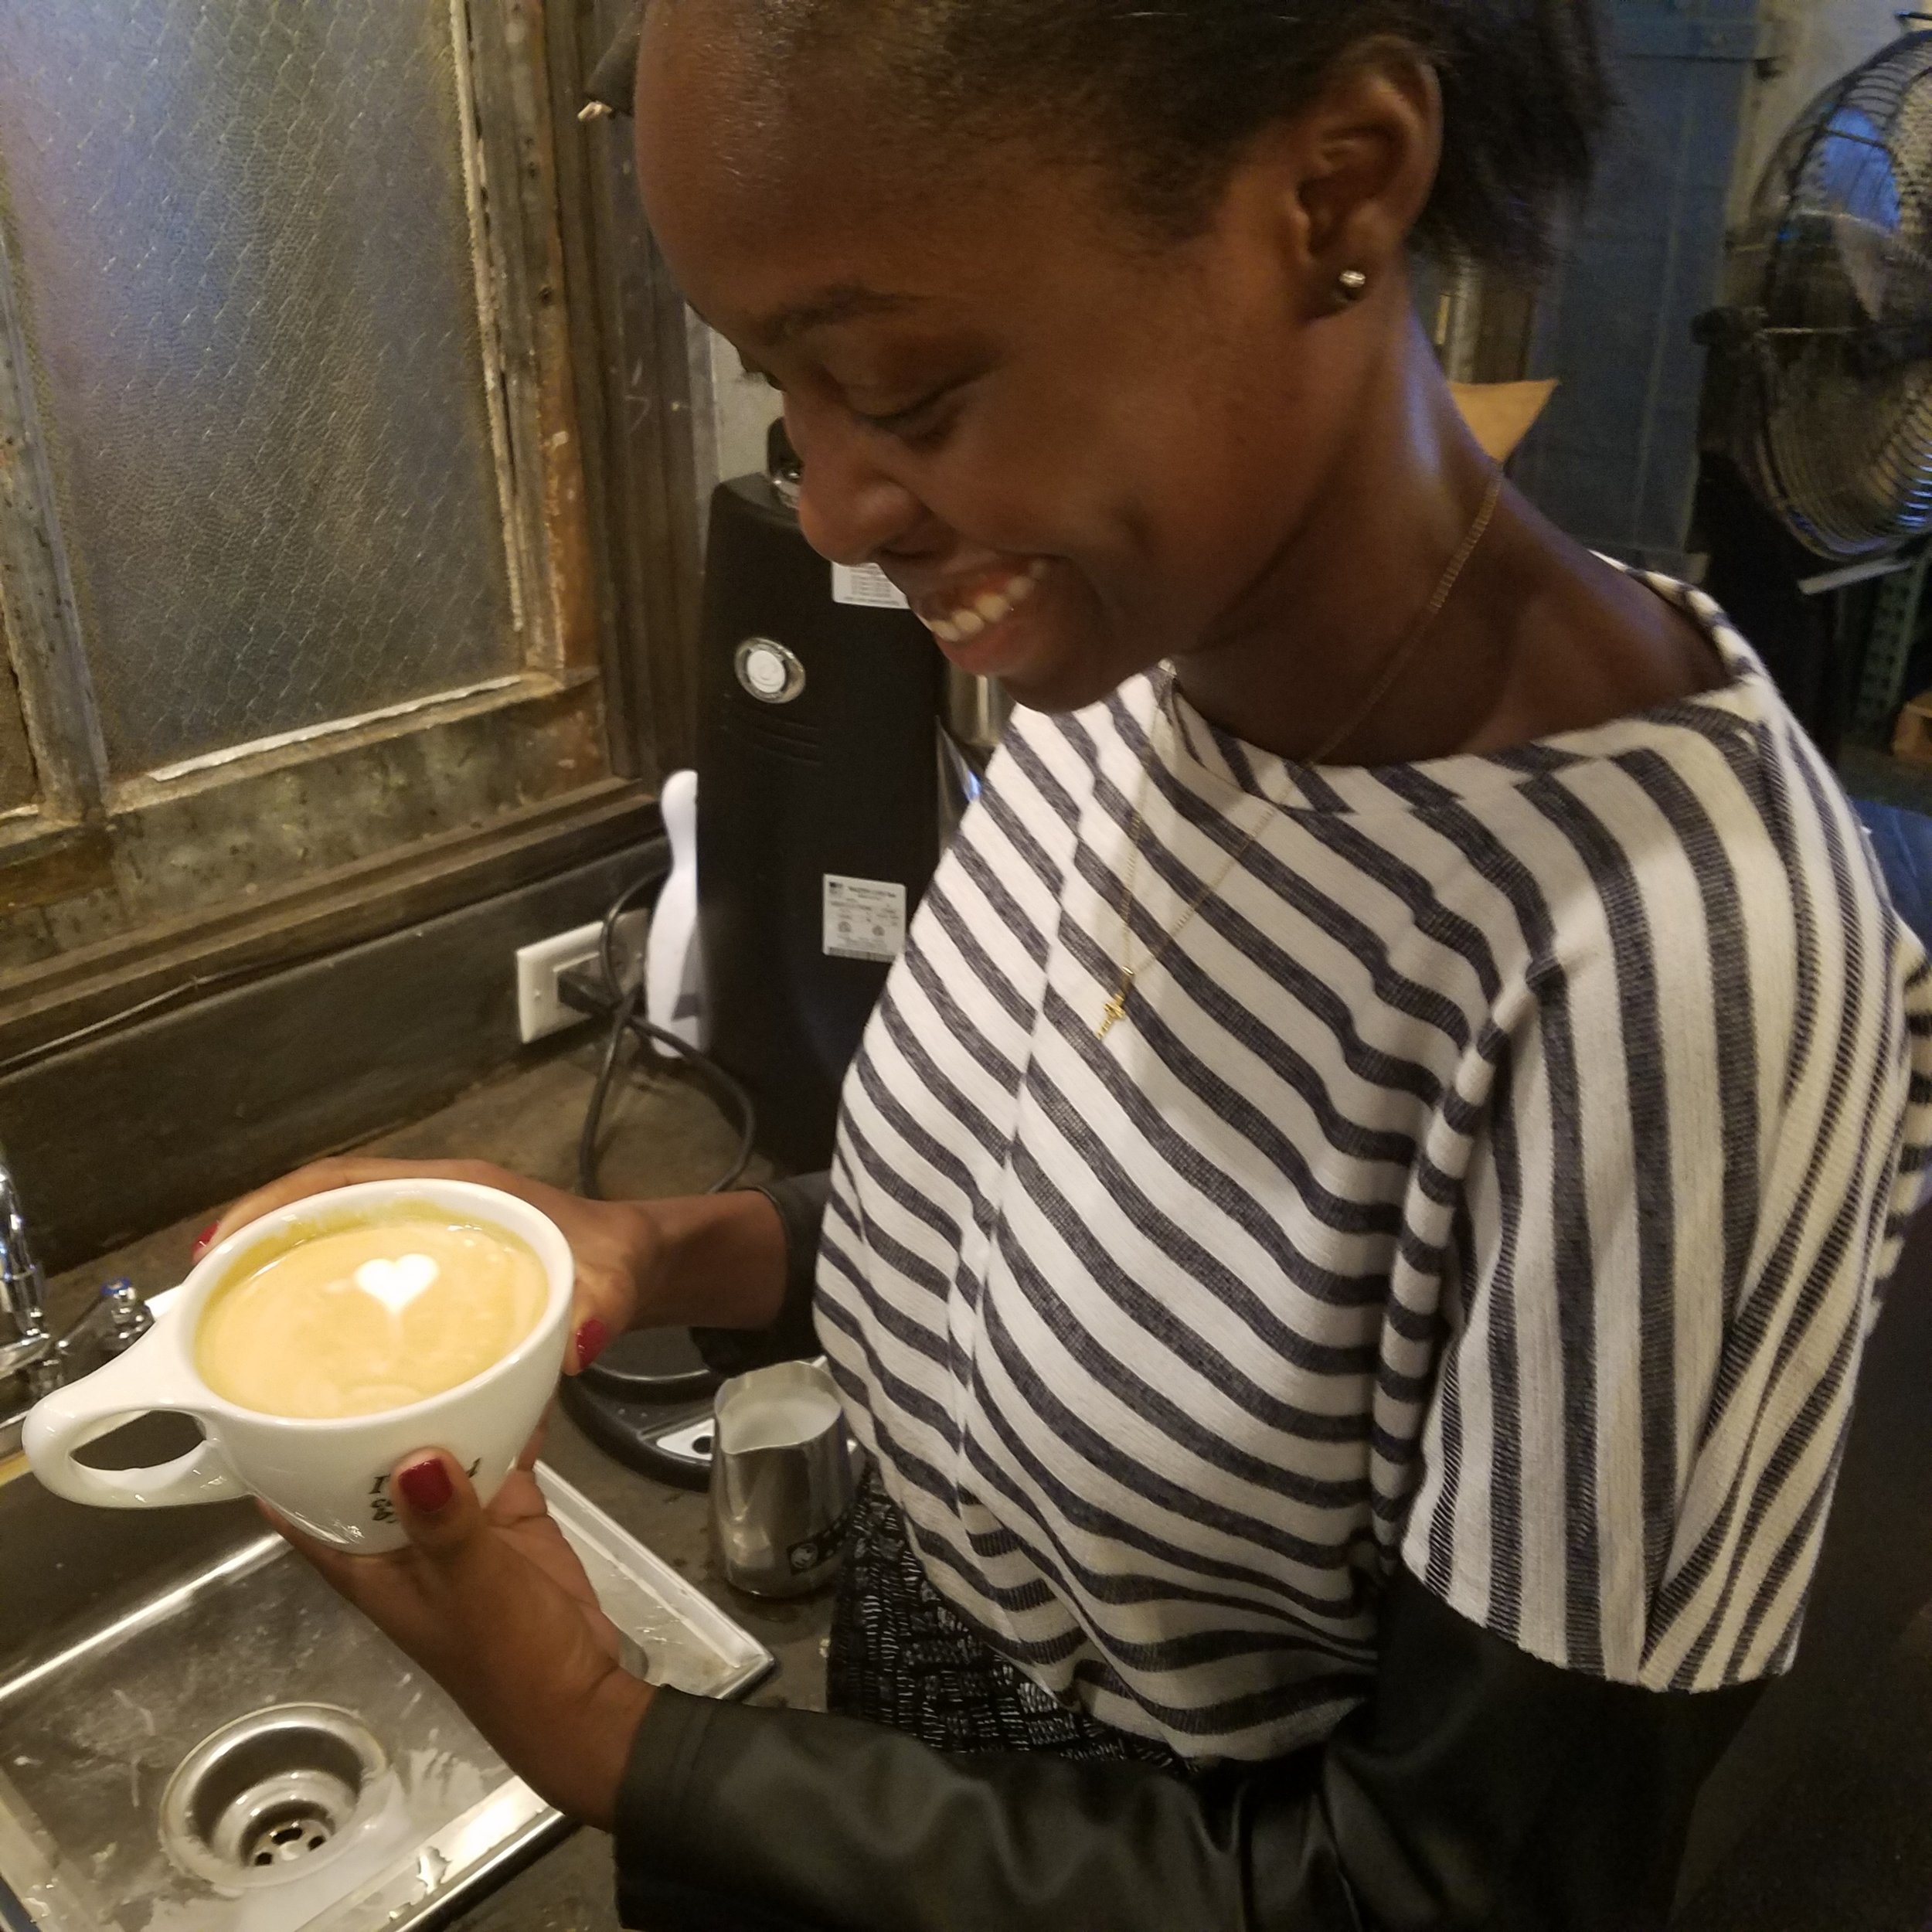
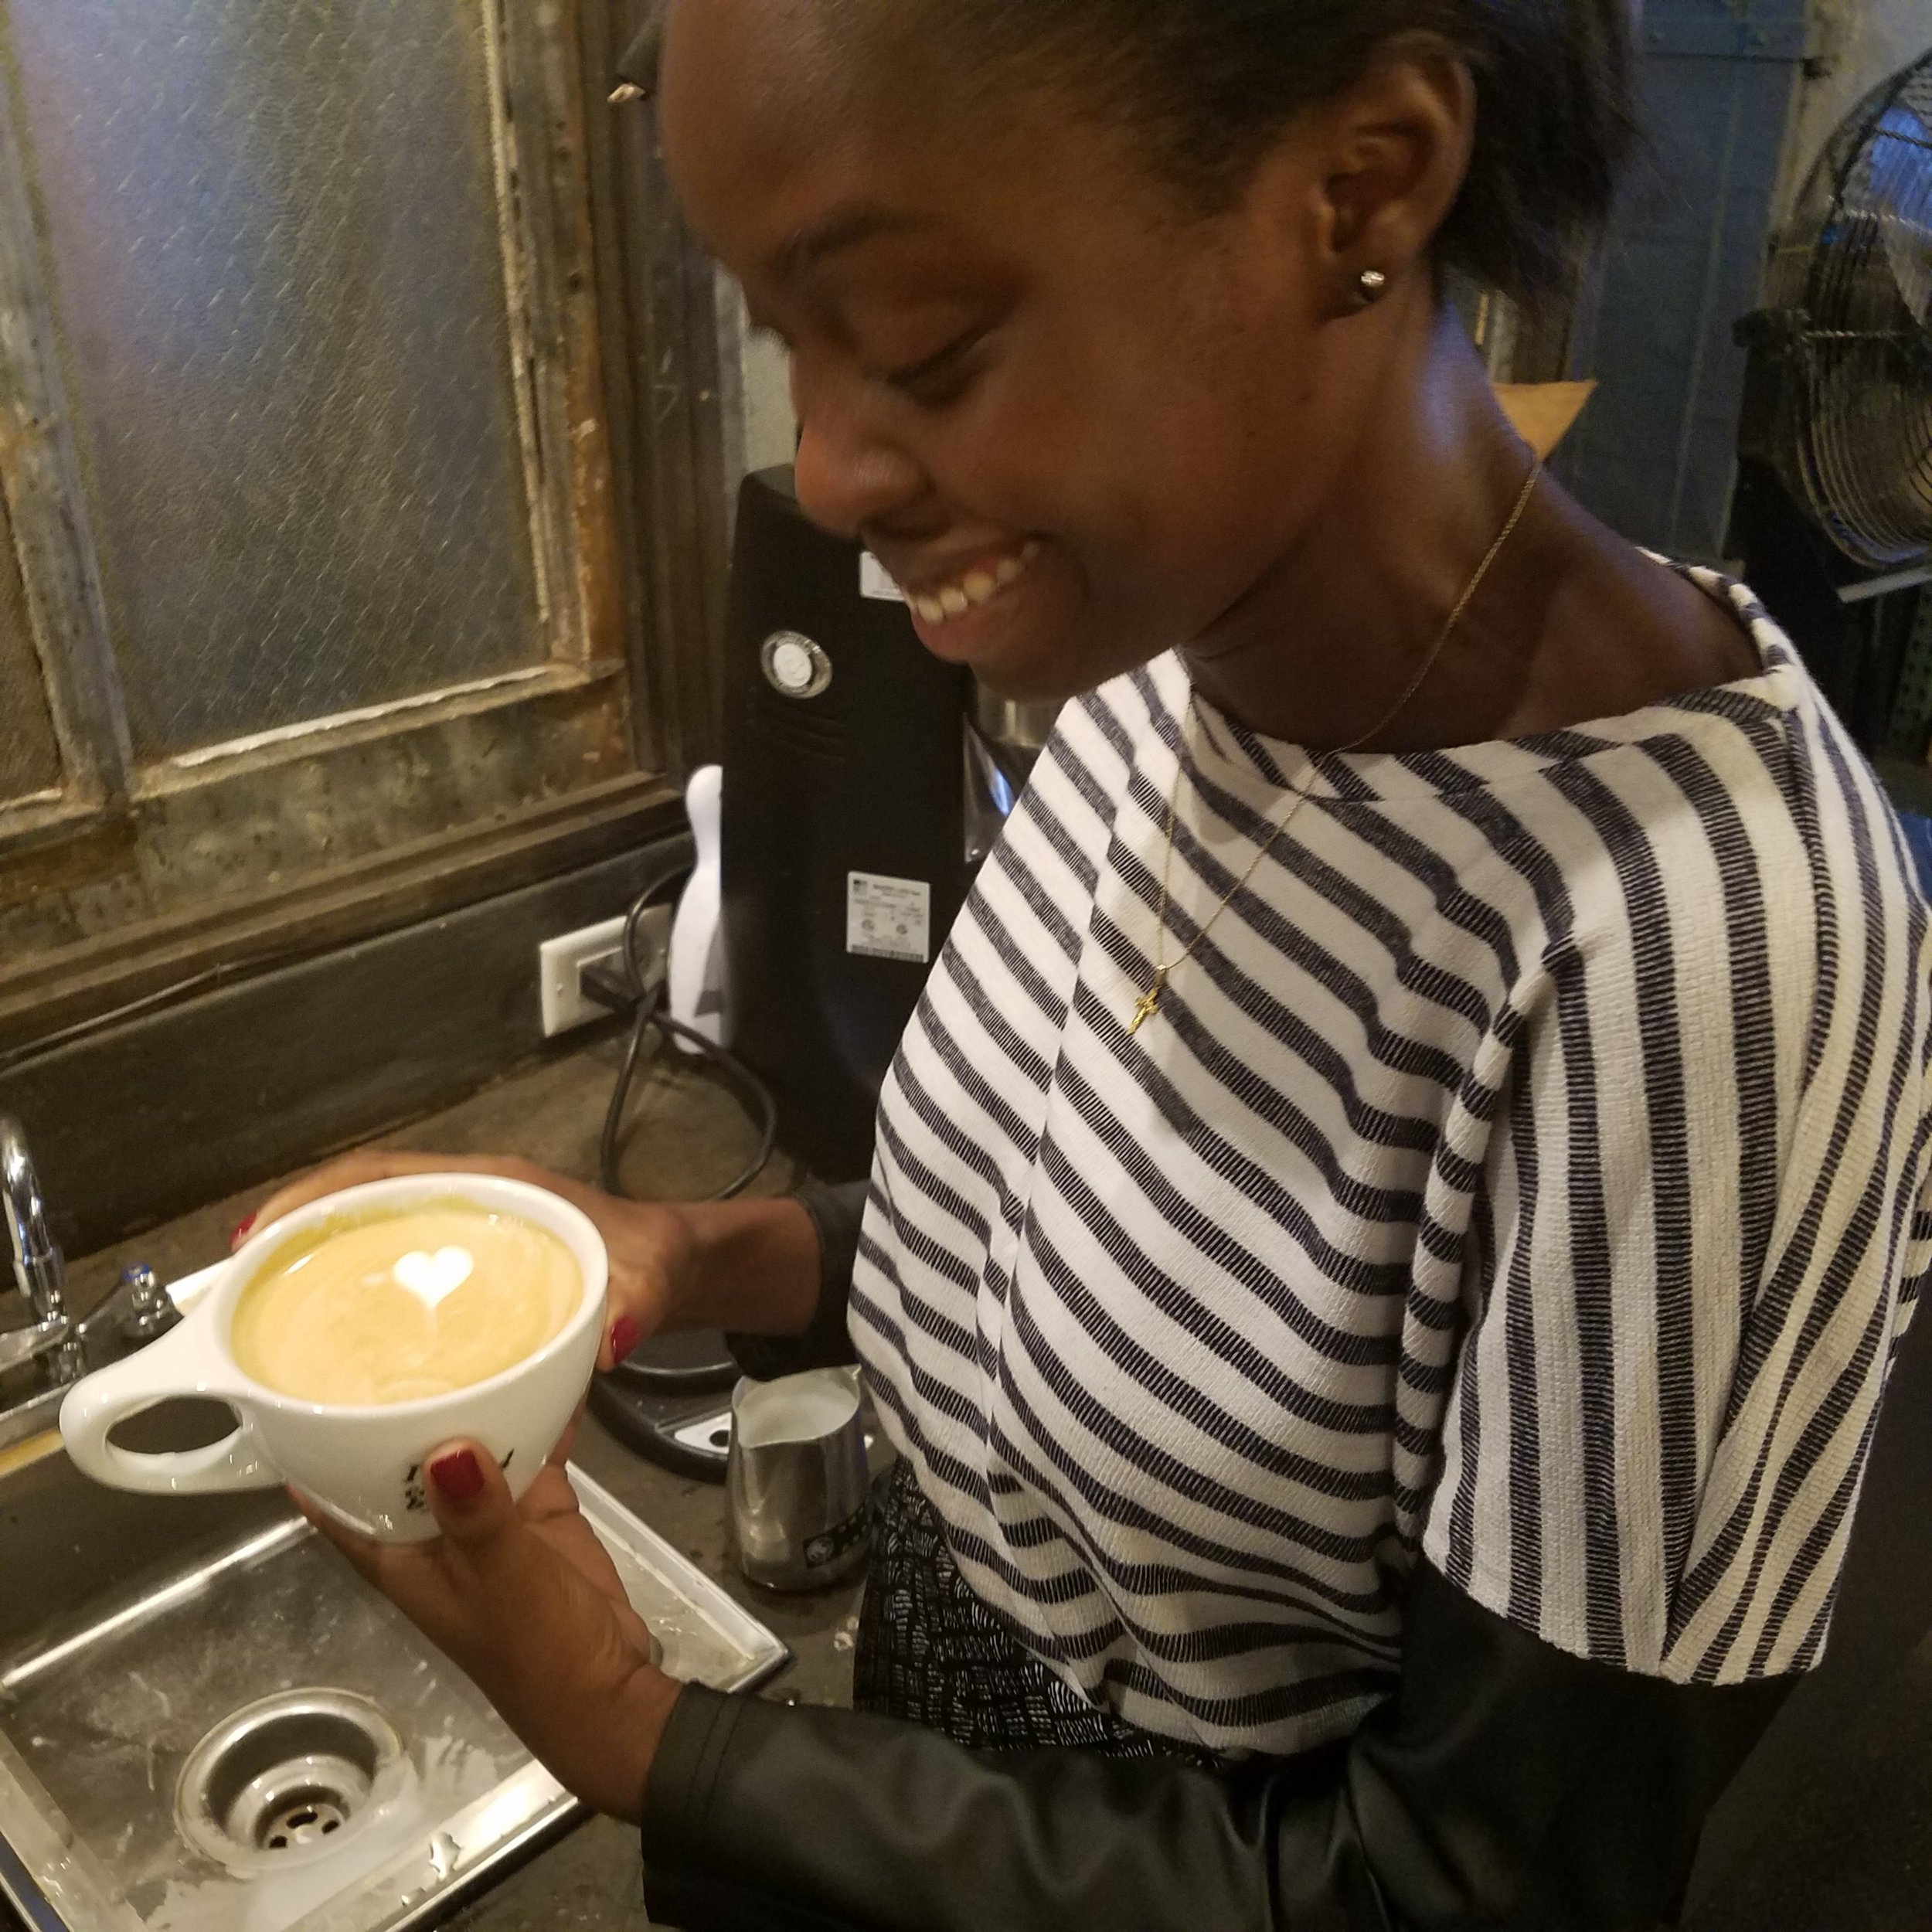
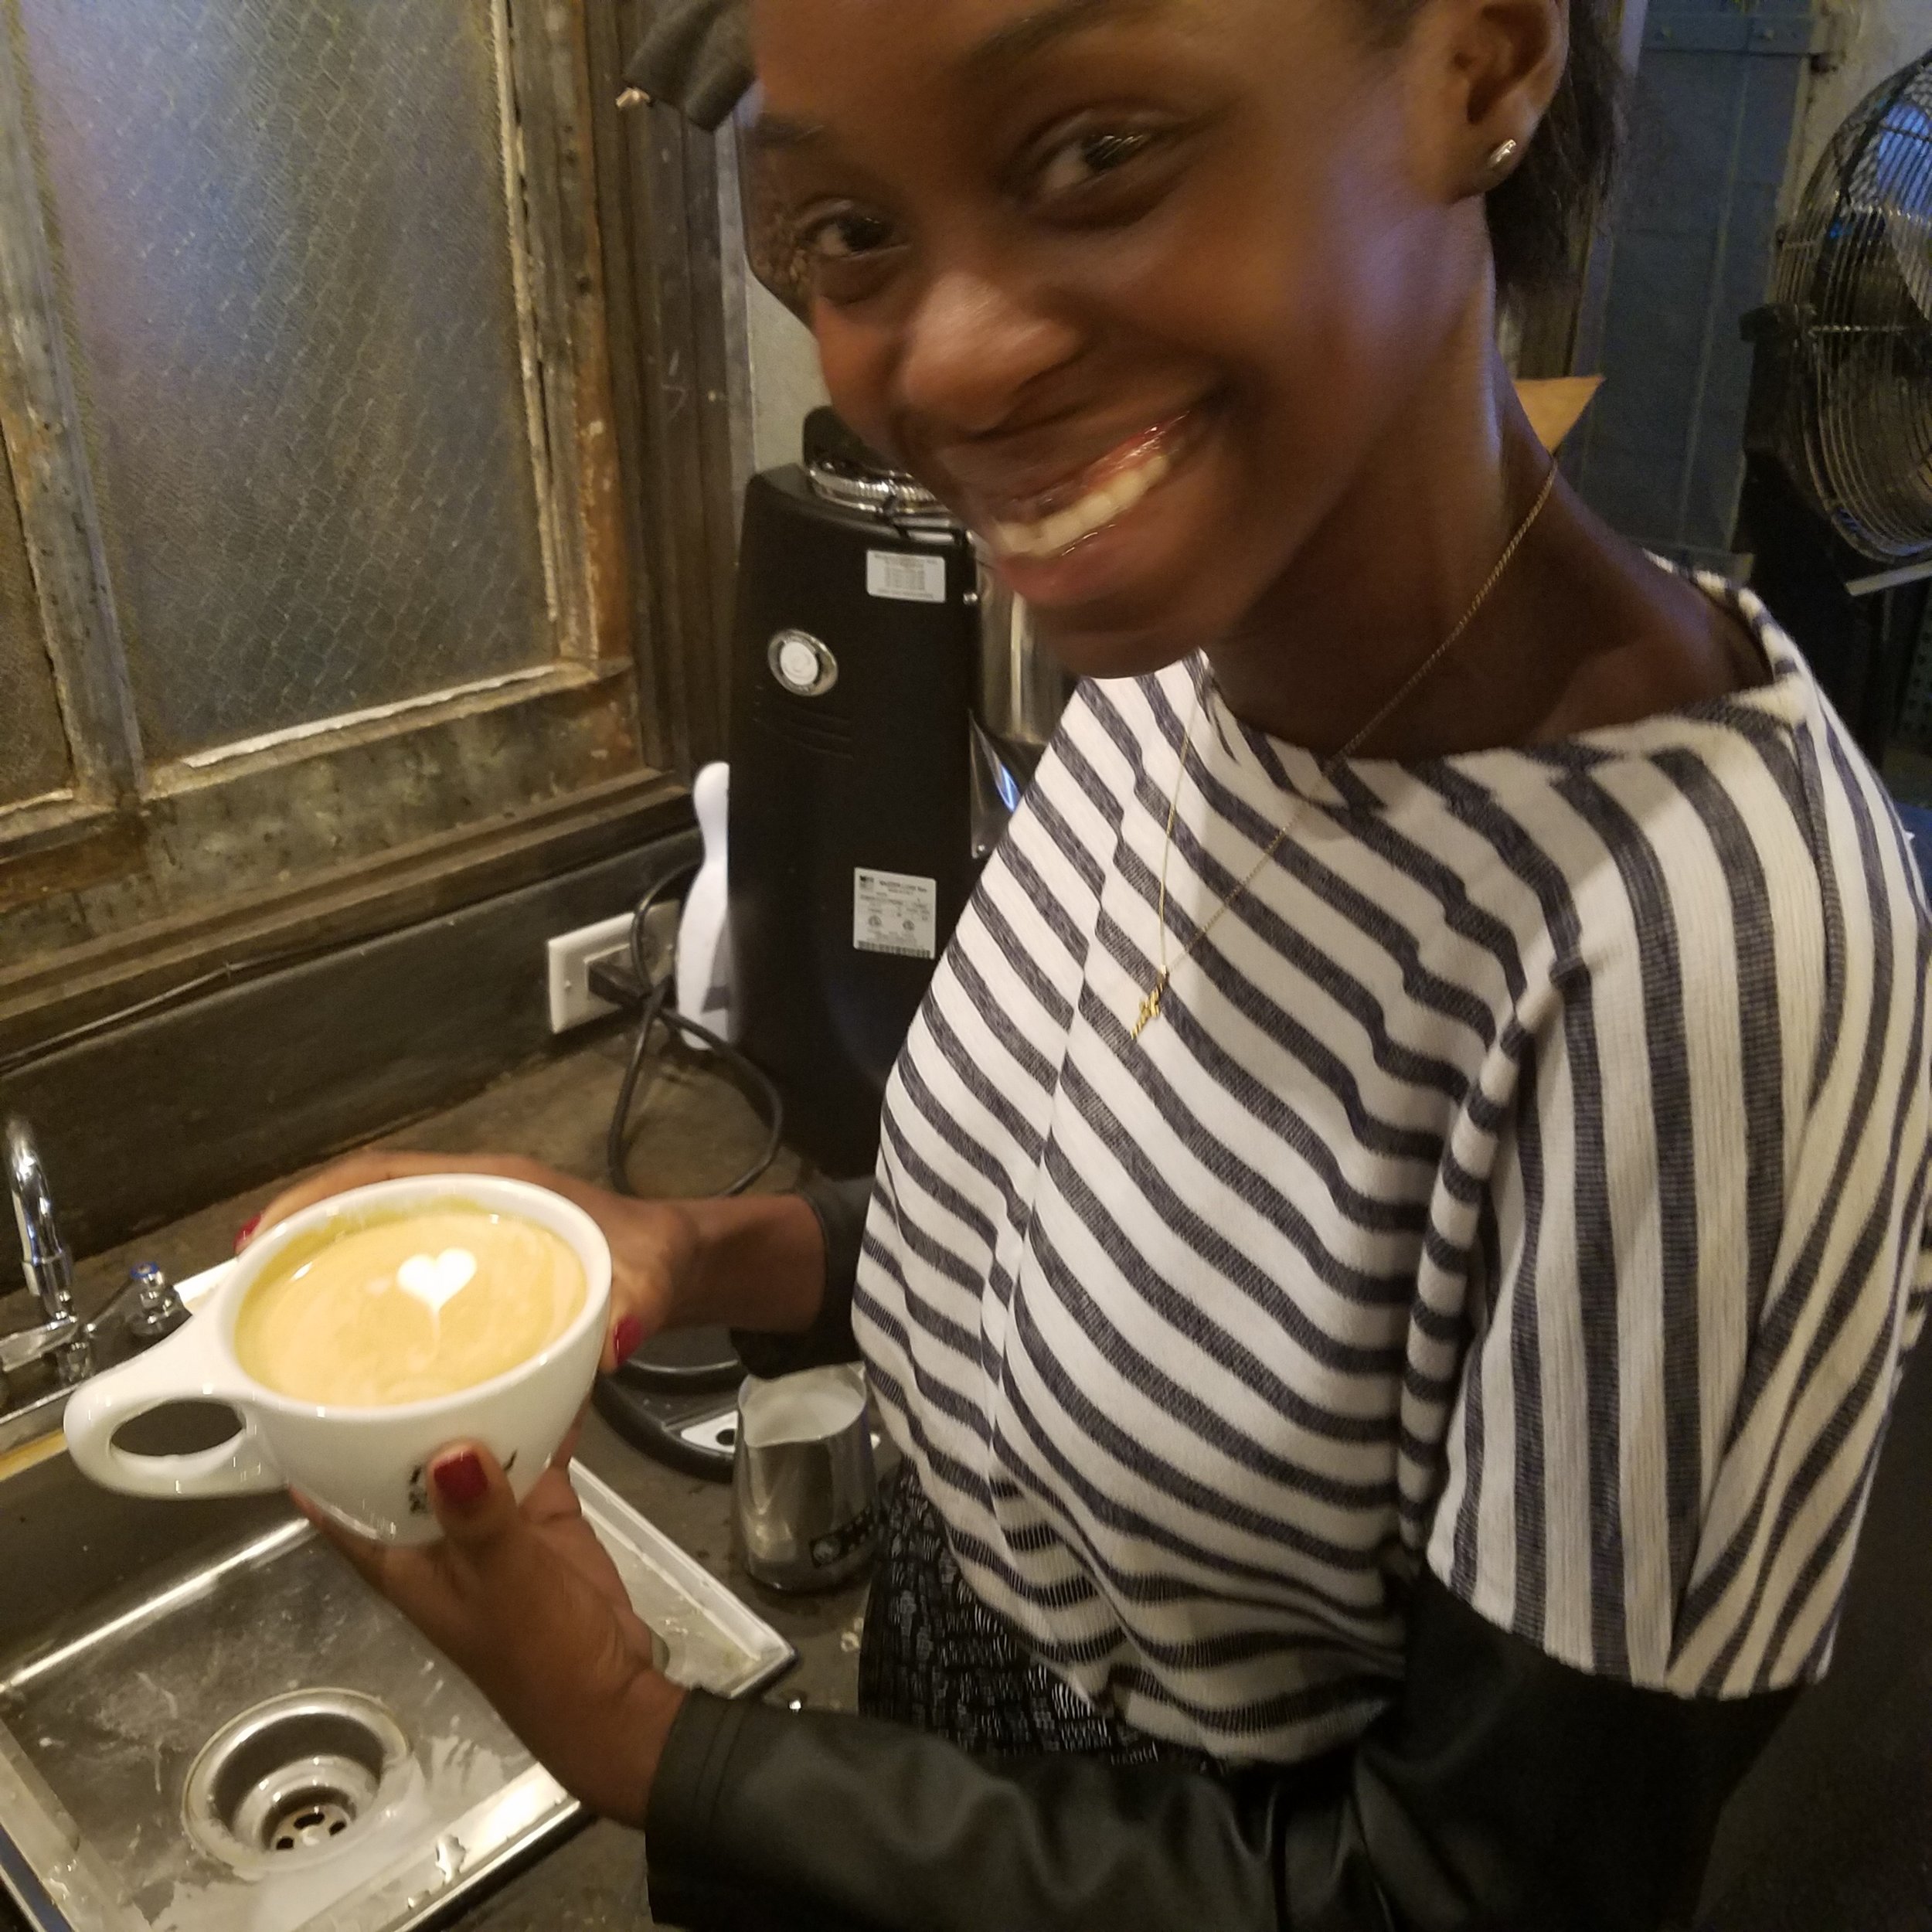
LATTE ART
I poured my first real heart! After many attempts, I’m so proud to be able to say that I actually poured a latte art heart!!!
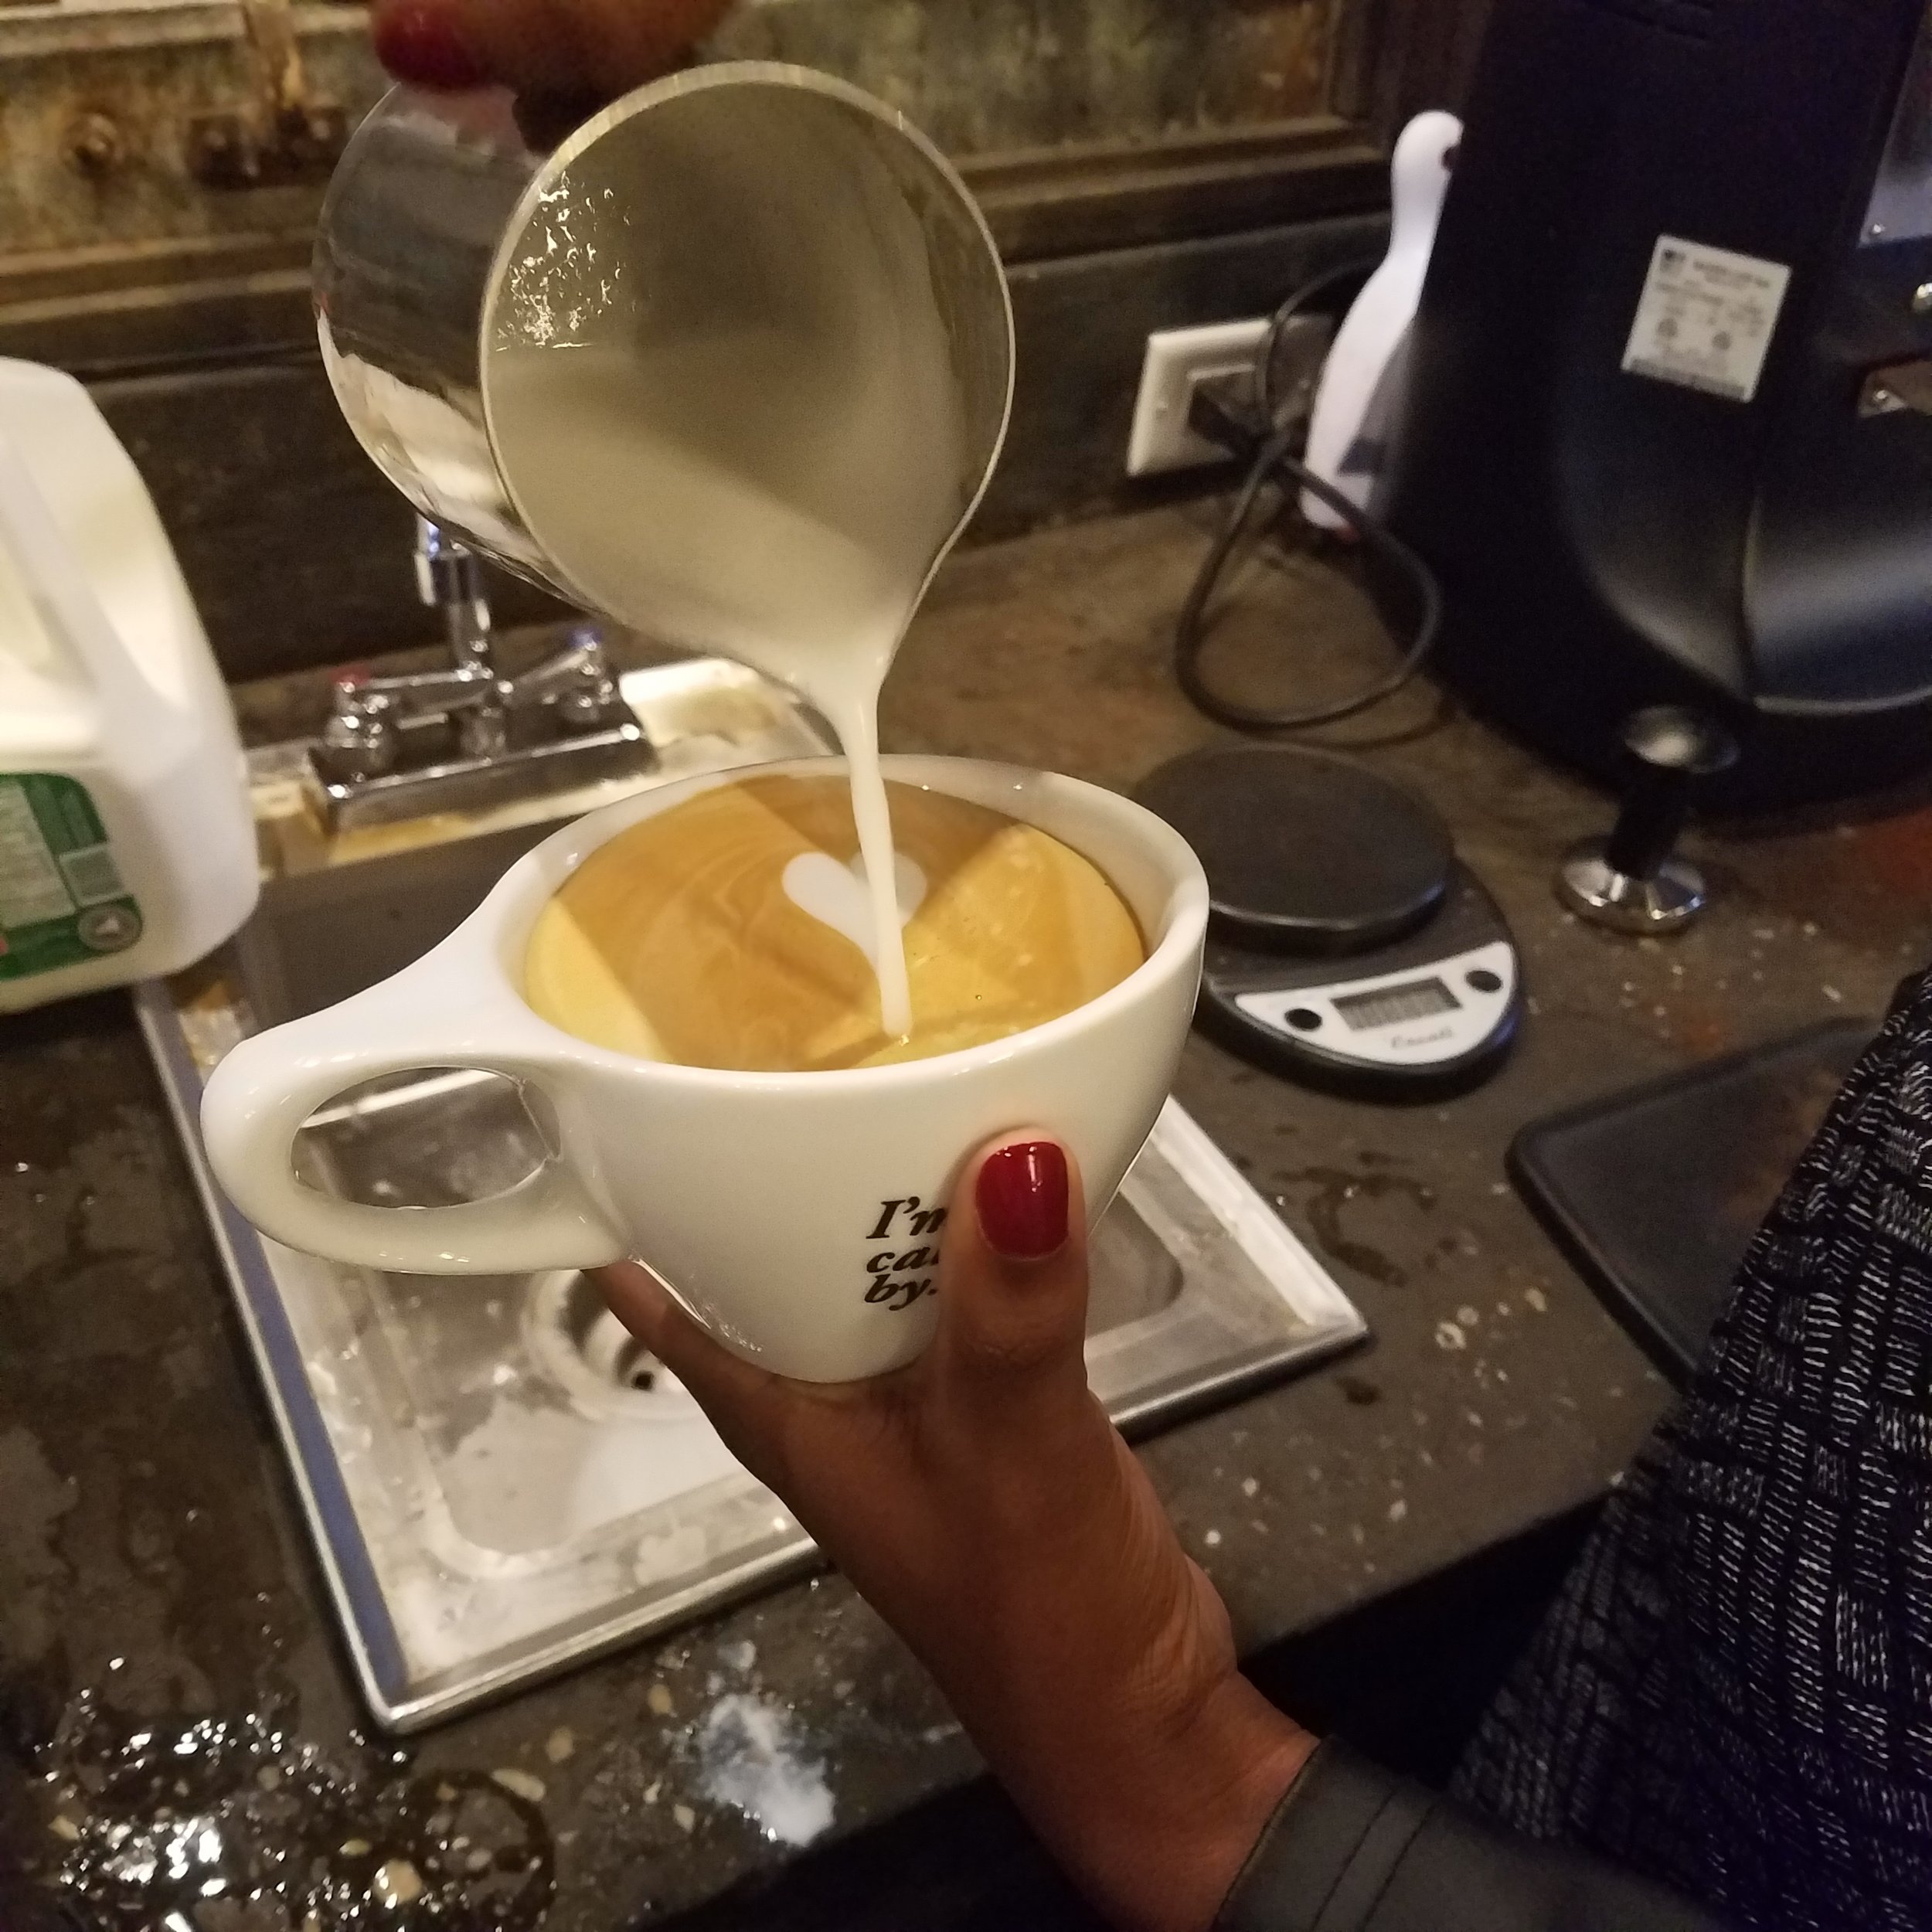

There are so many things at play when it comes to latte art and I have a lot of room for improvement. For example, the angle of the cup and the milk pitcher along with the movements of both as the art is formed are crucial. Crucial might be an understatement. Another example of detail in coffee art would be the care needed around when and for how long you begin the art (for hearts - the earlier you begin, the larger the heart).
With all of that being said, I’m happy about where I am today!

Special thanks to our instructor John who was so patient during our class and to Birch Coffee for hosting a fun afternoon!!
THANKS TO YOU FOR READING! Do you enjoy coffee? I’d love to hear about your favorite drink or coffee shop! Share the deets below or tag me on IG - @jelacreates.