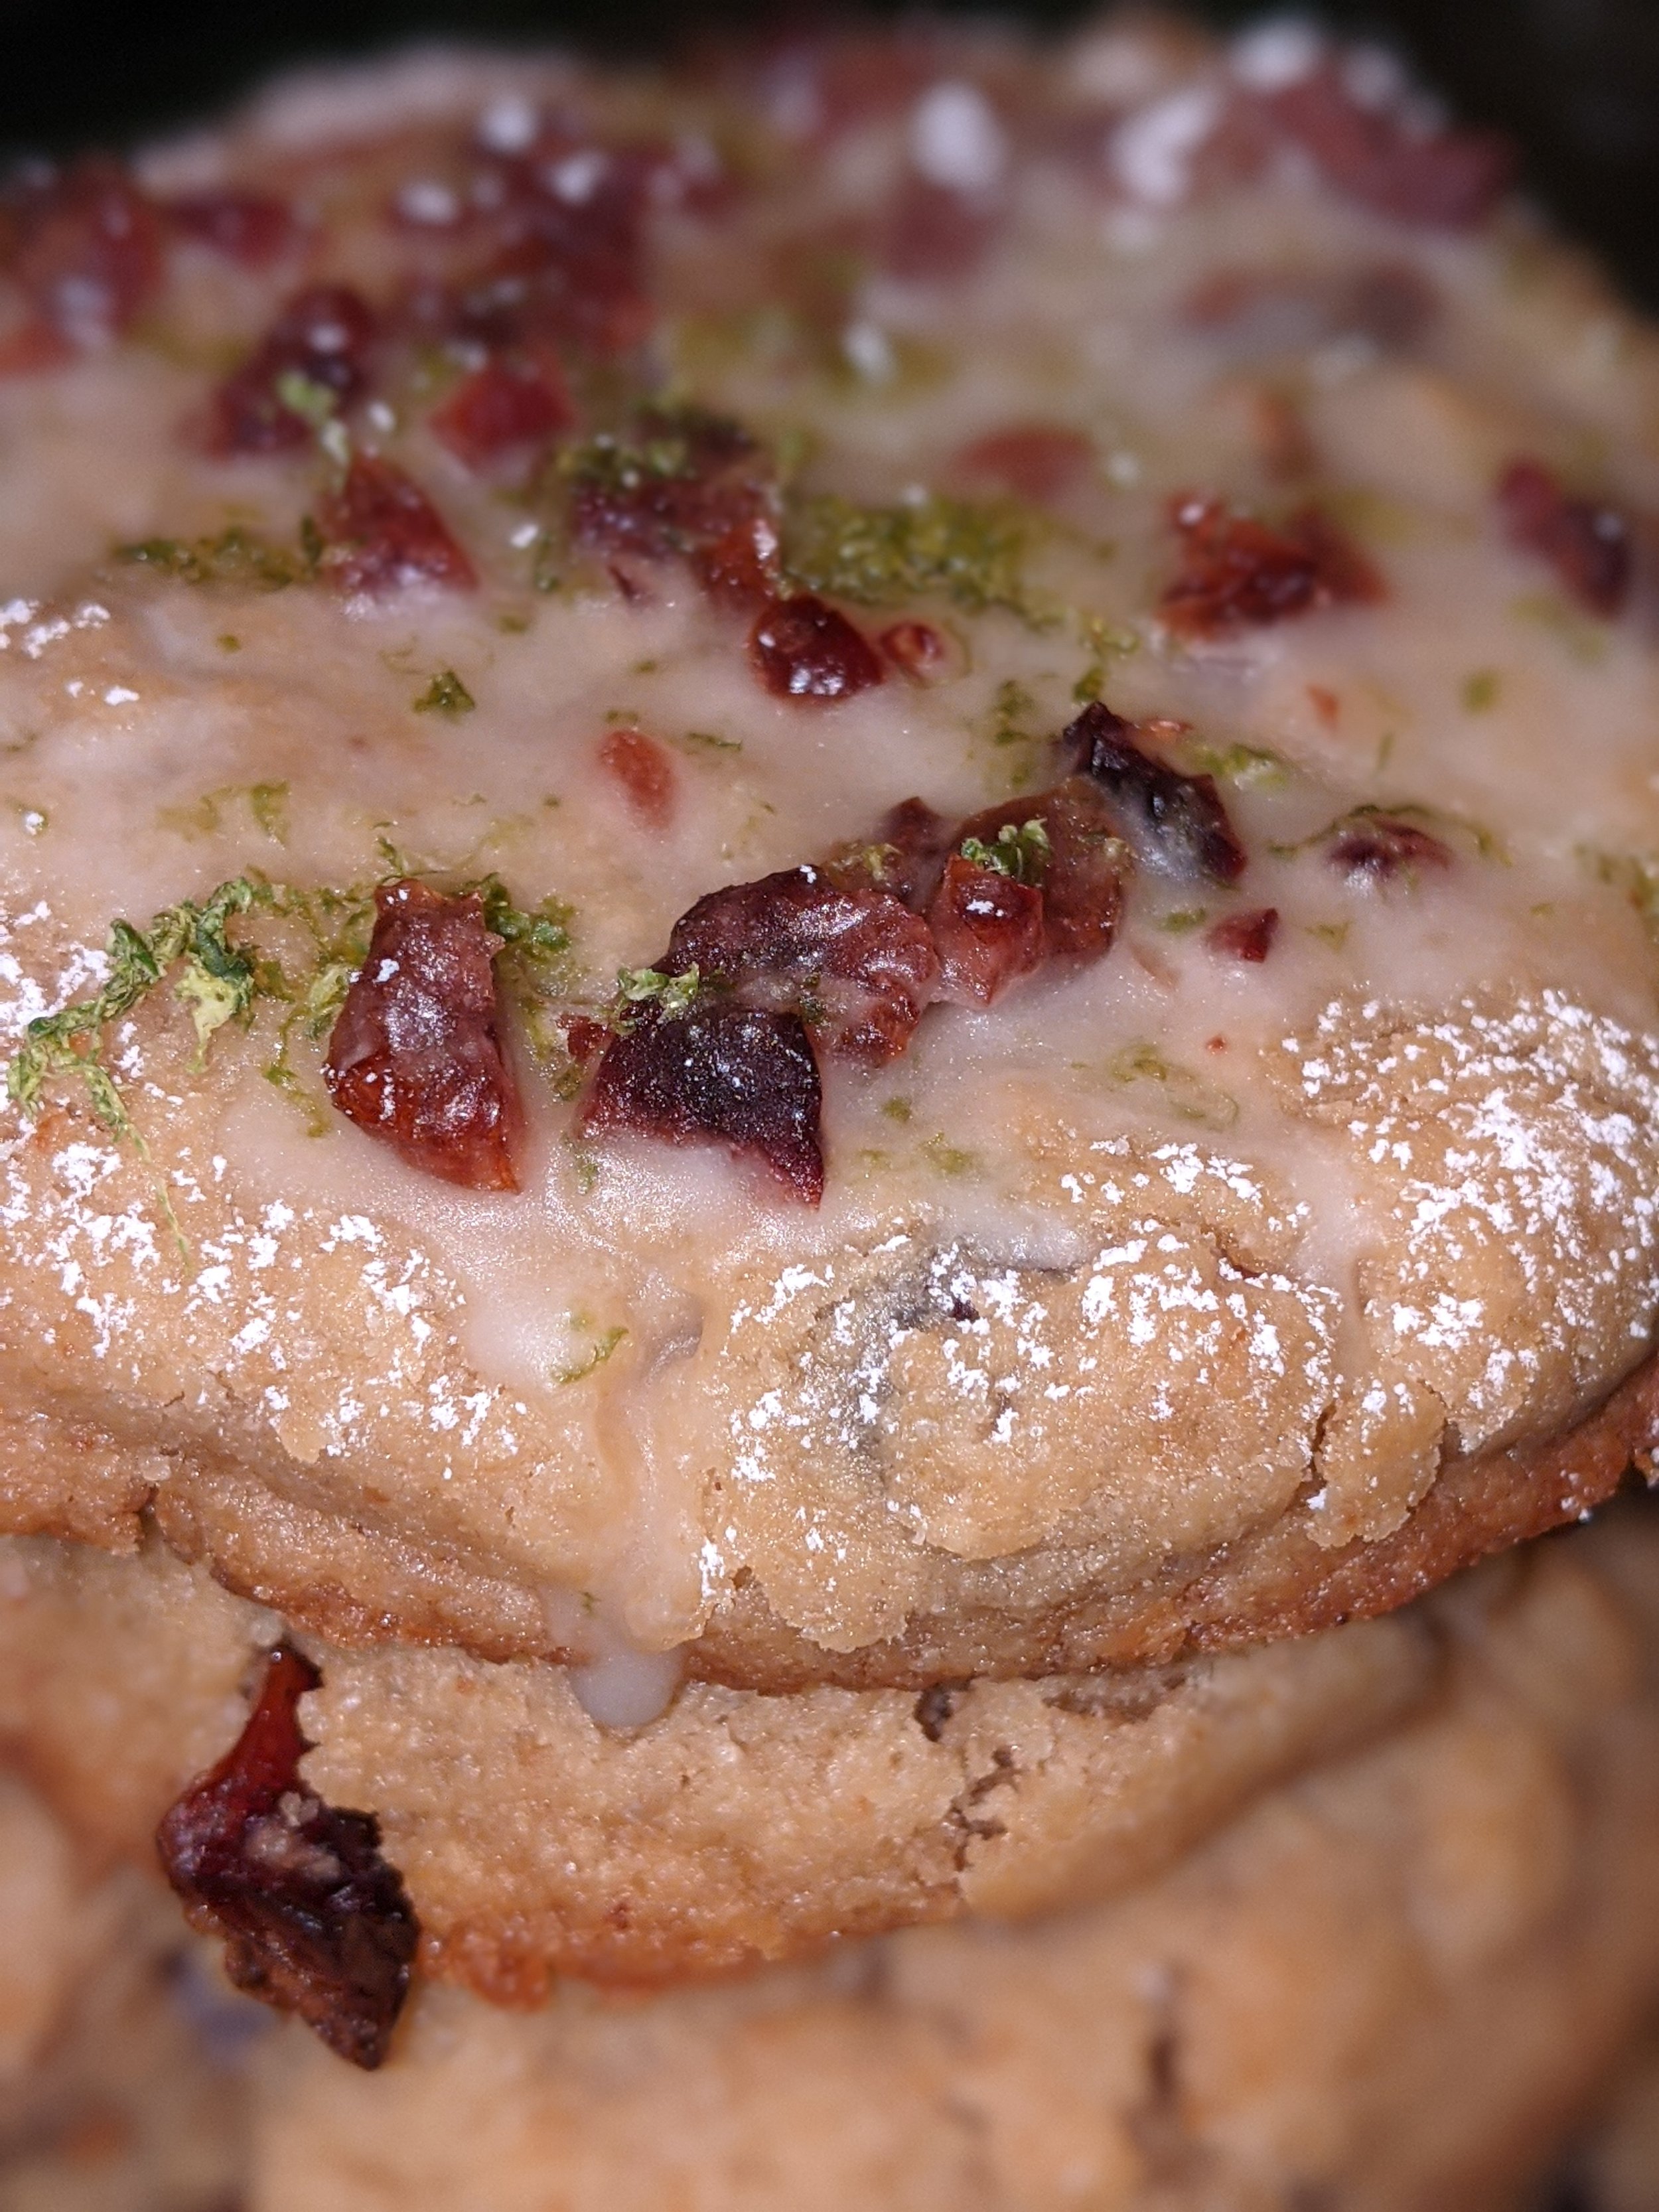
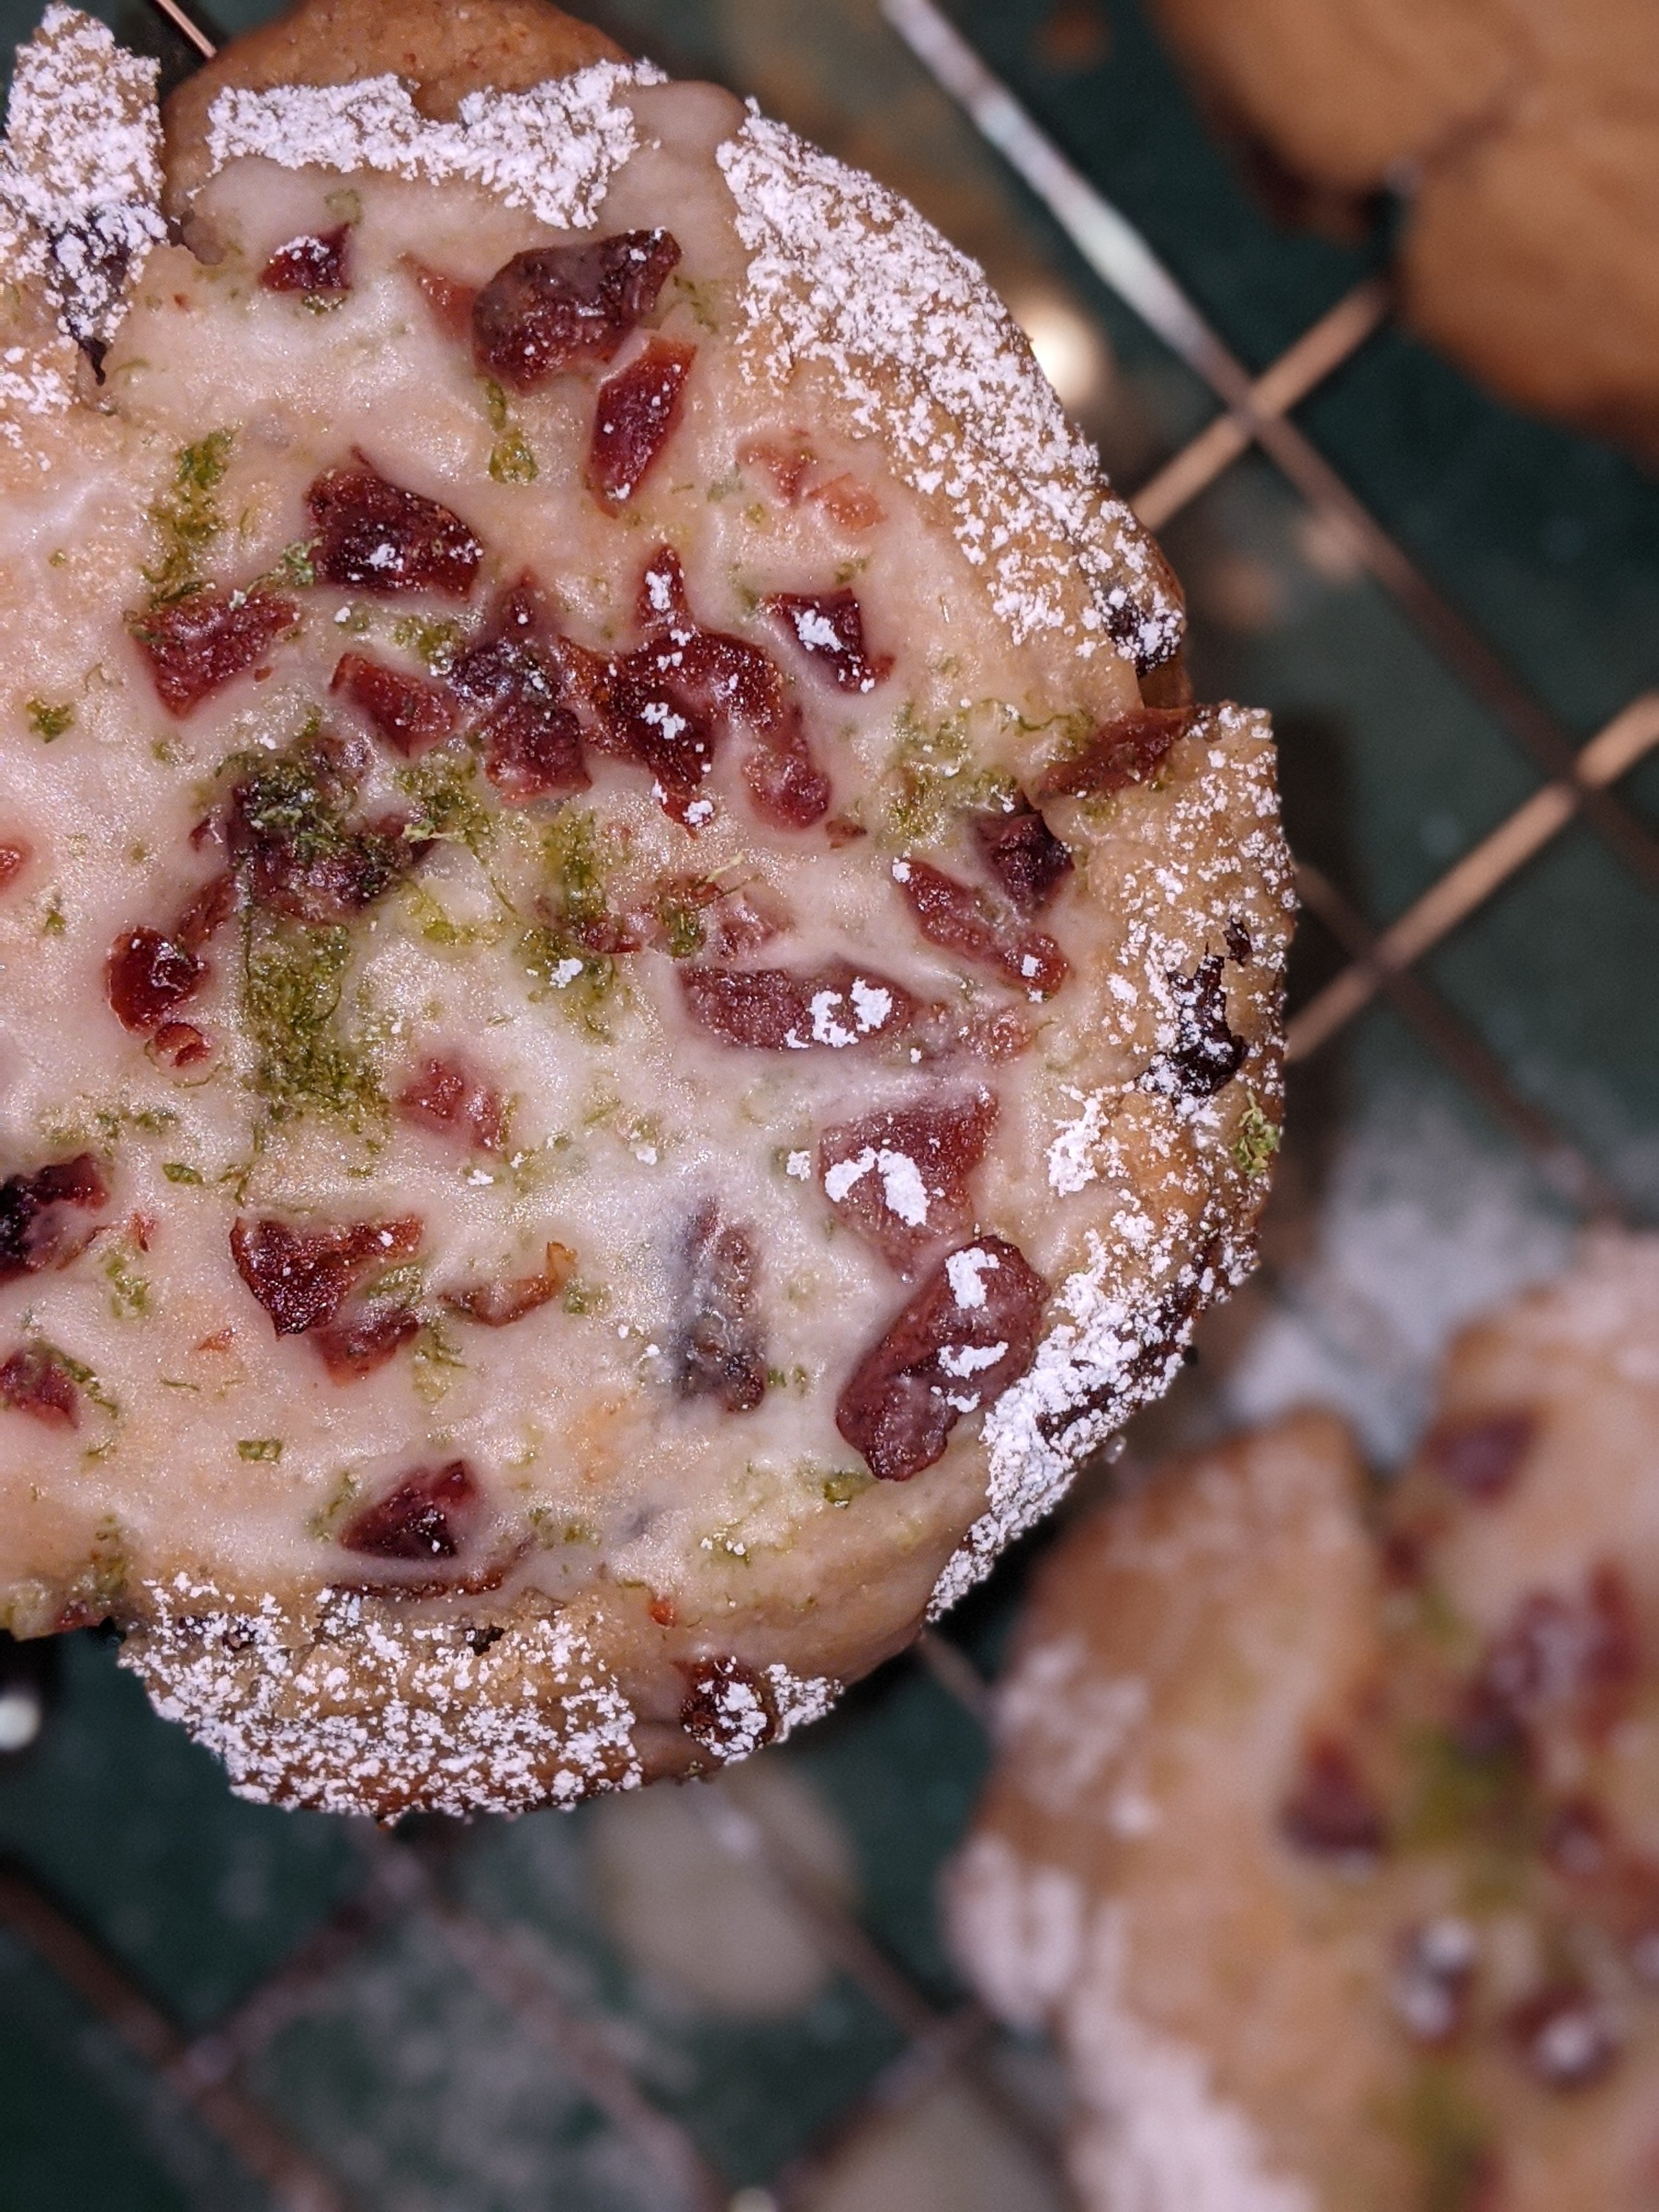
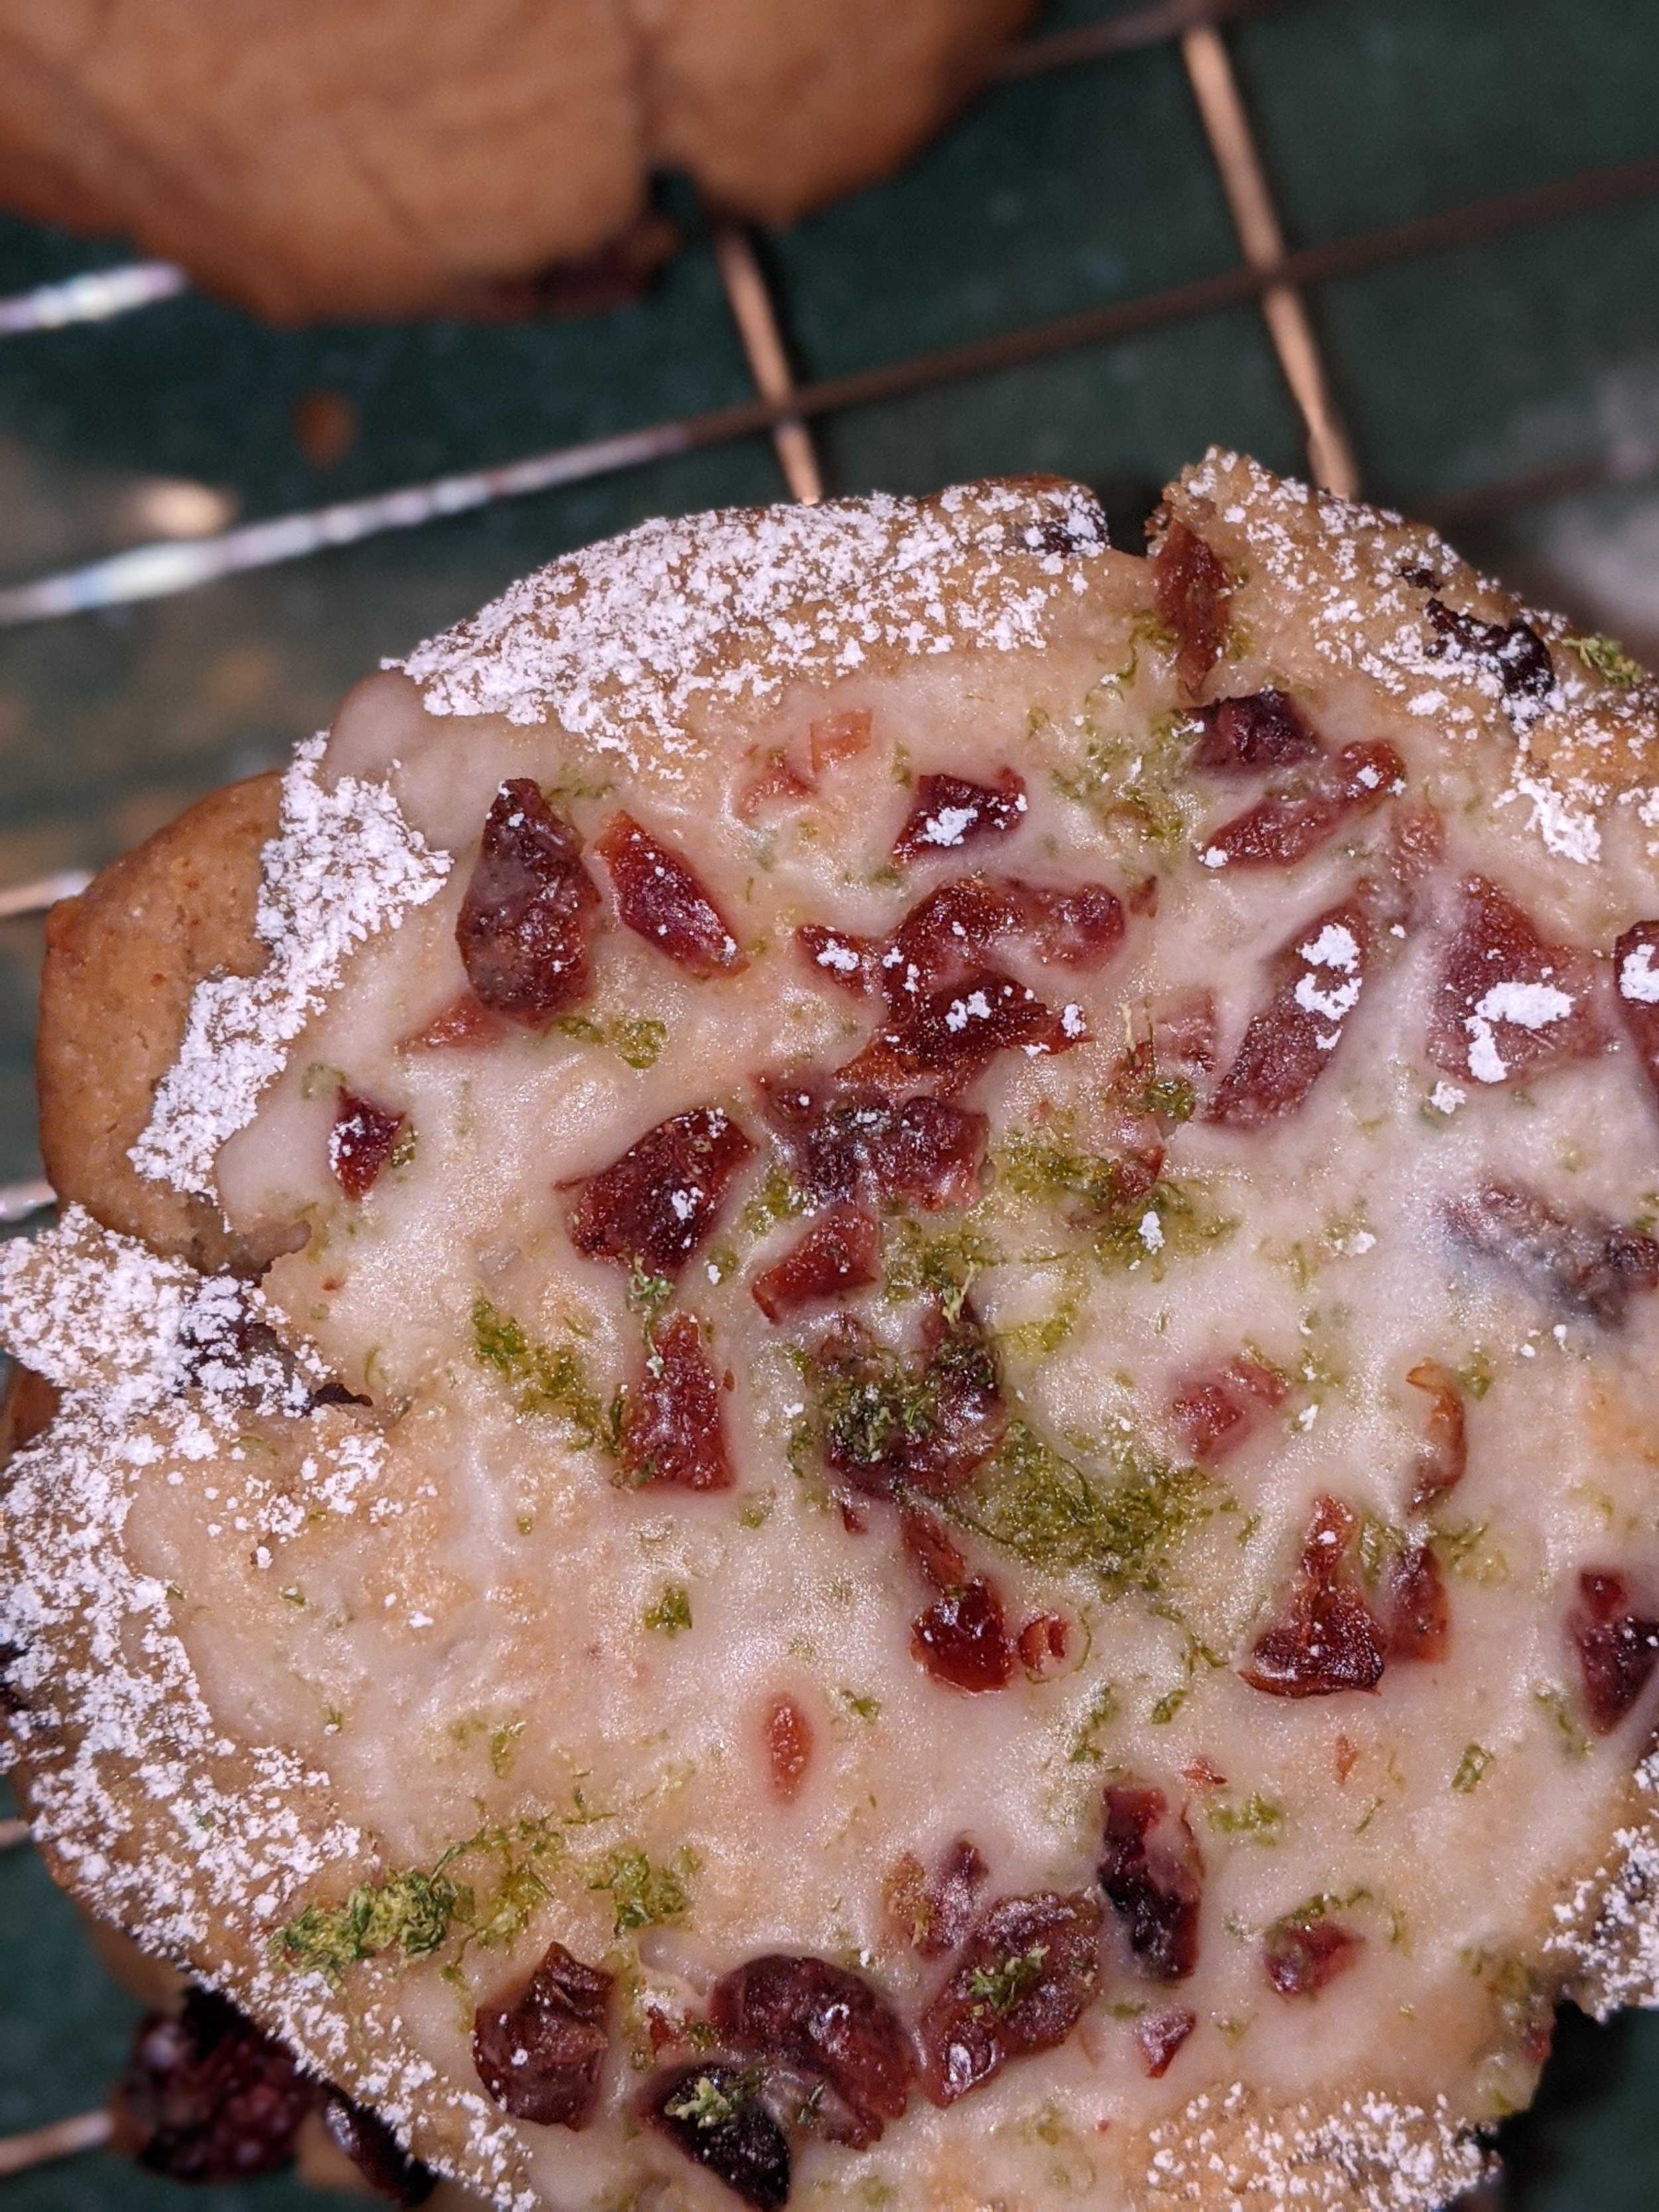
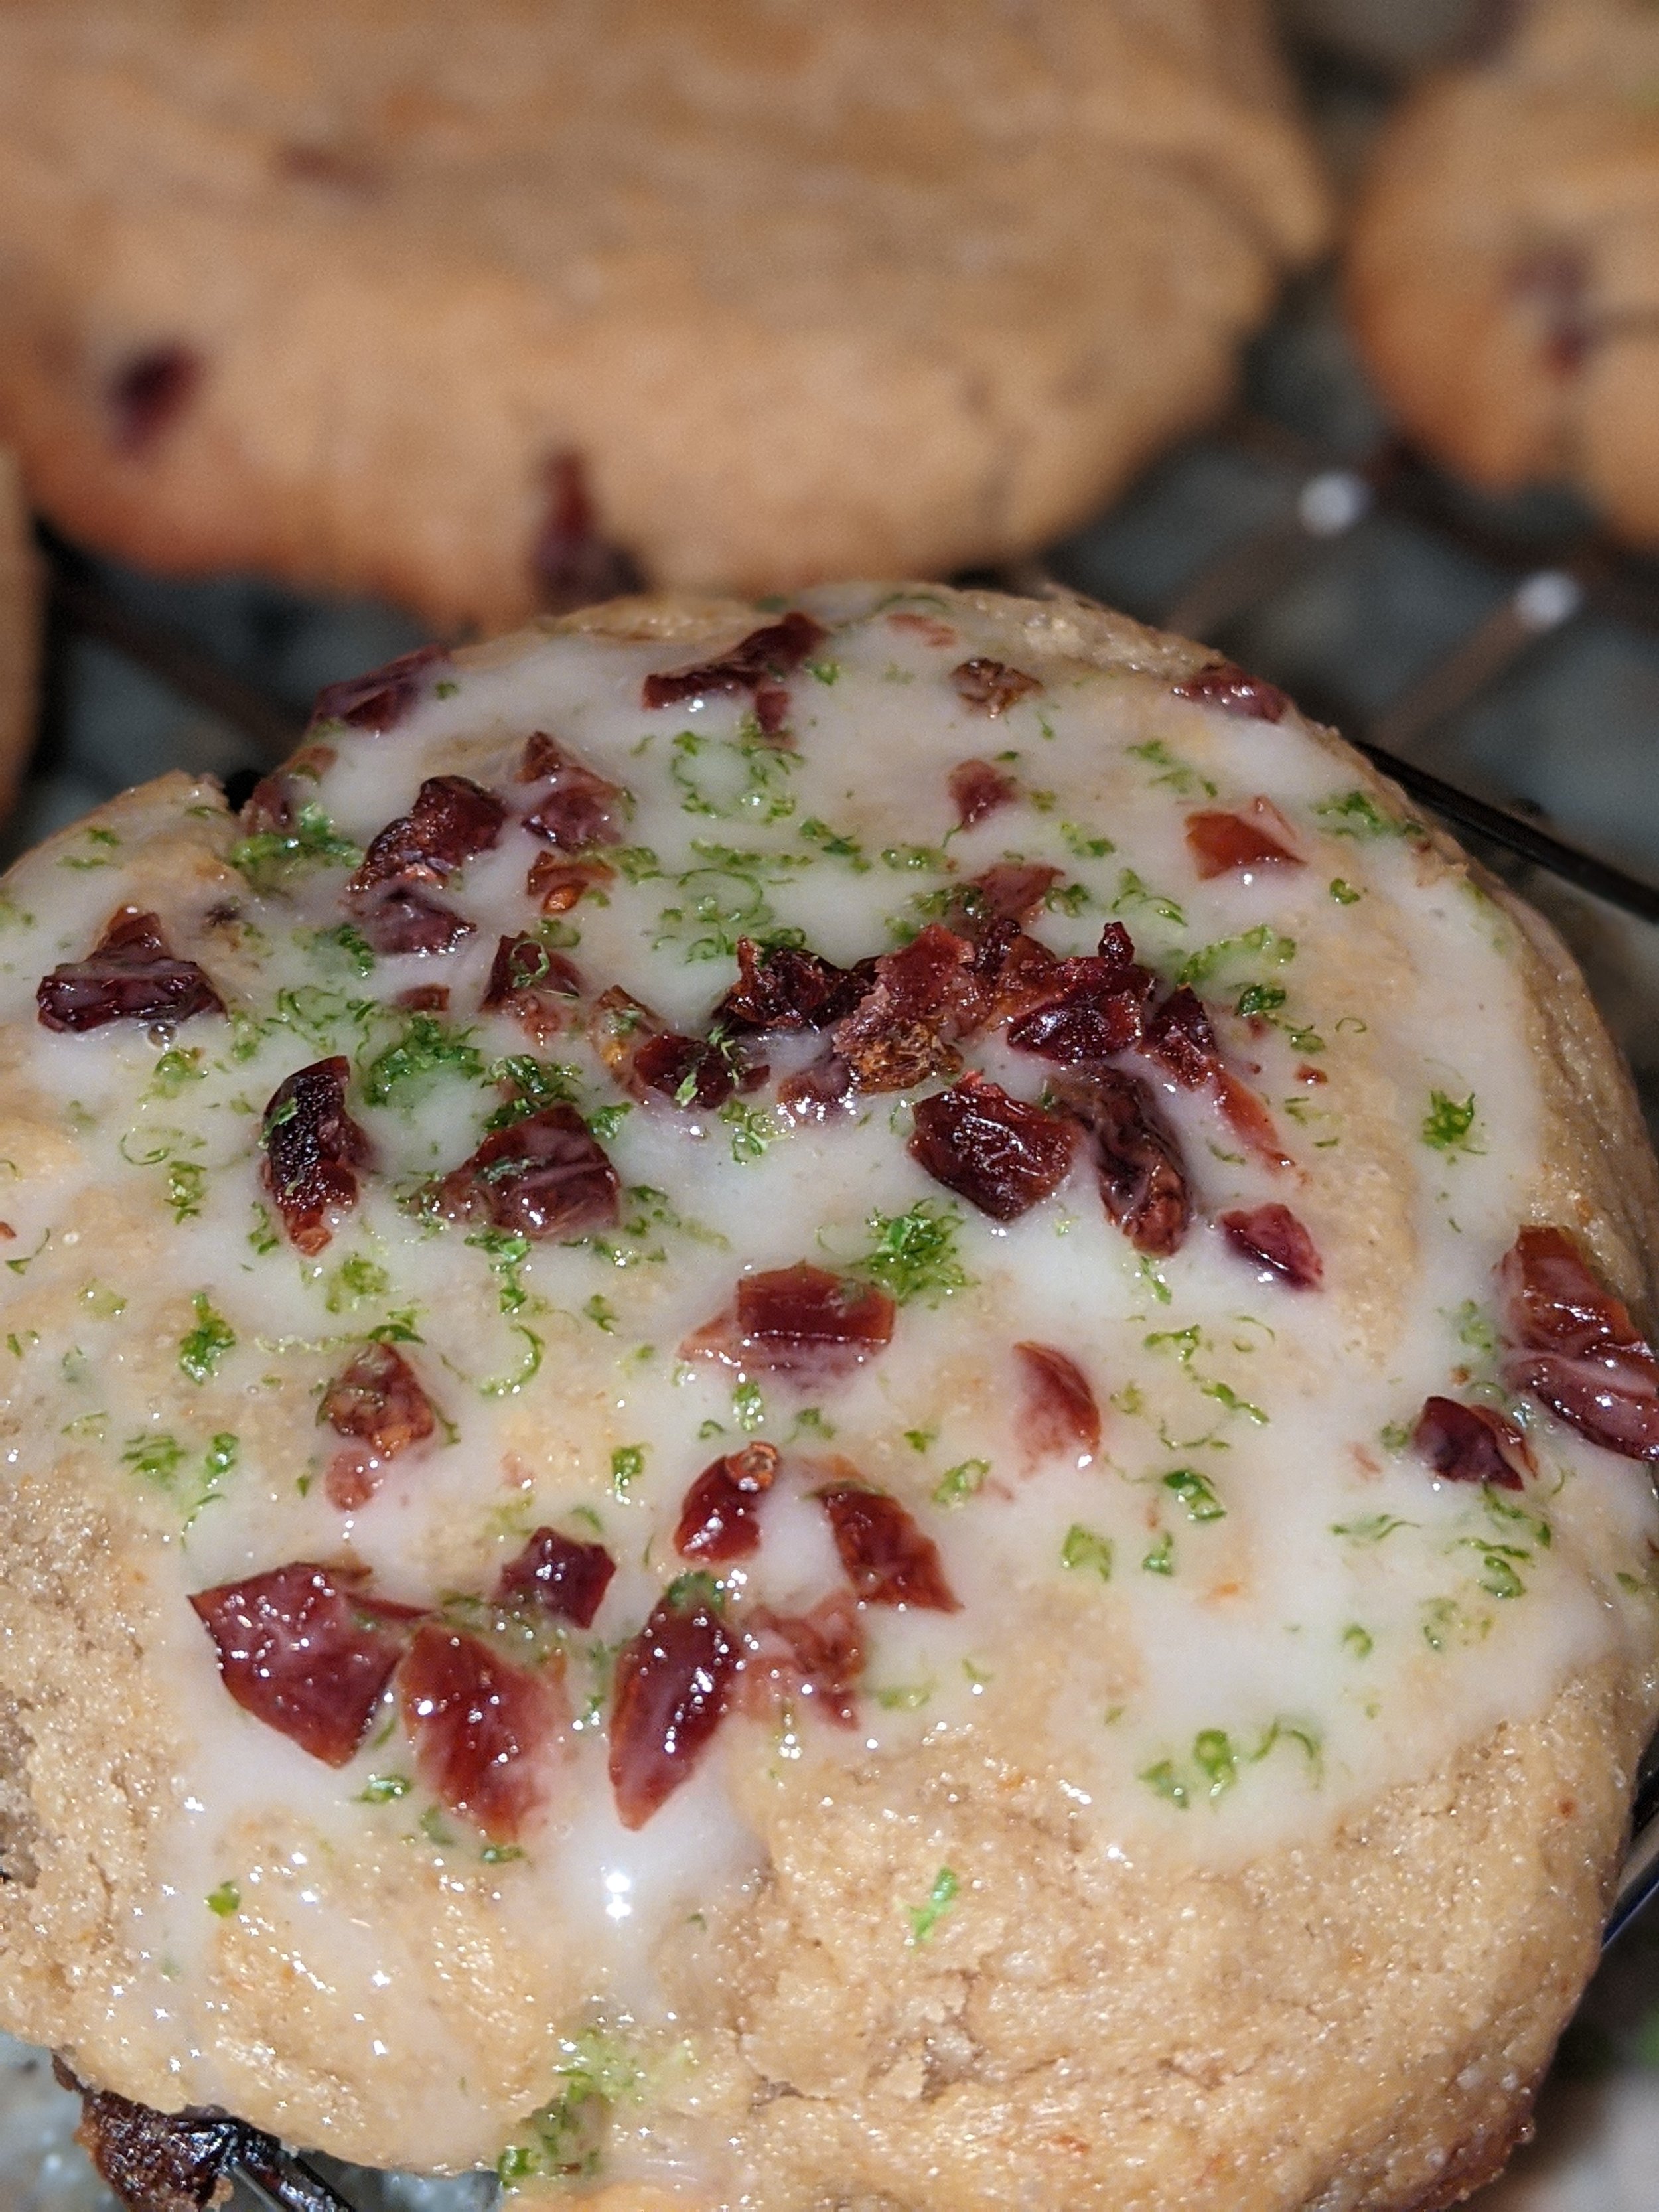
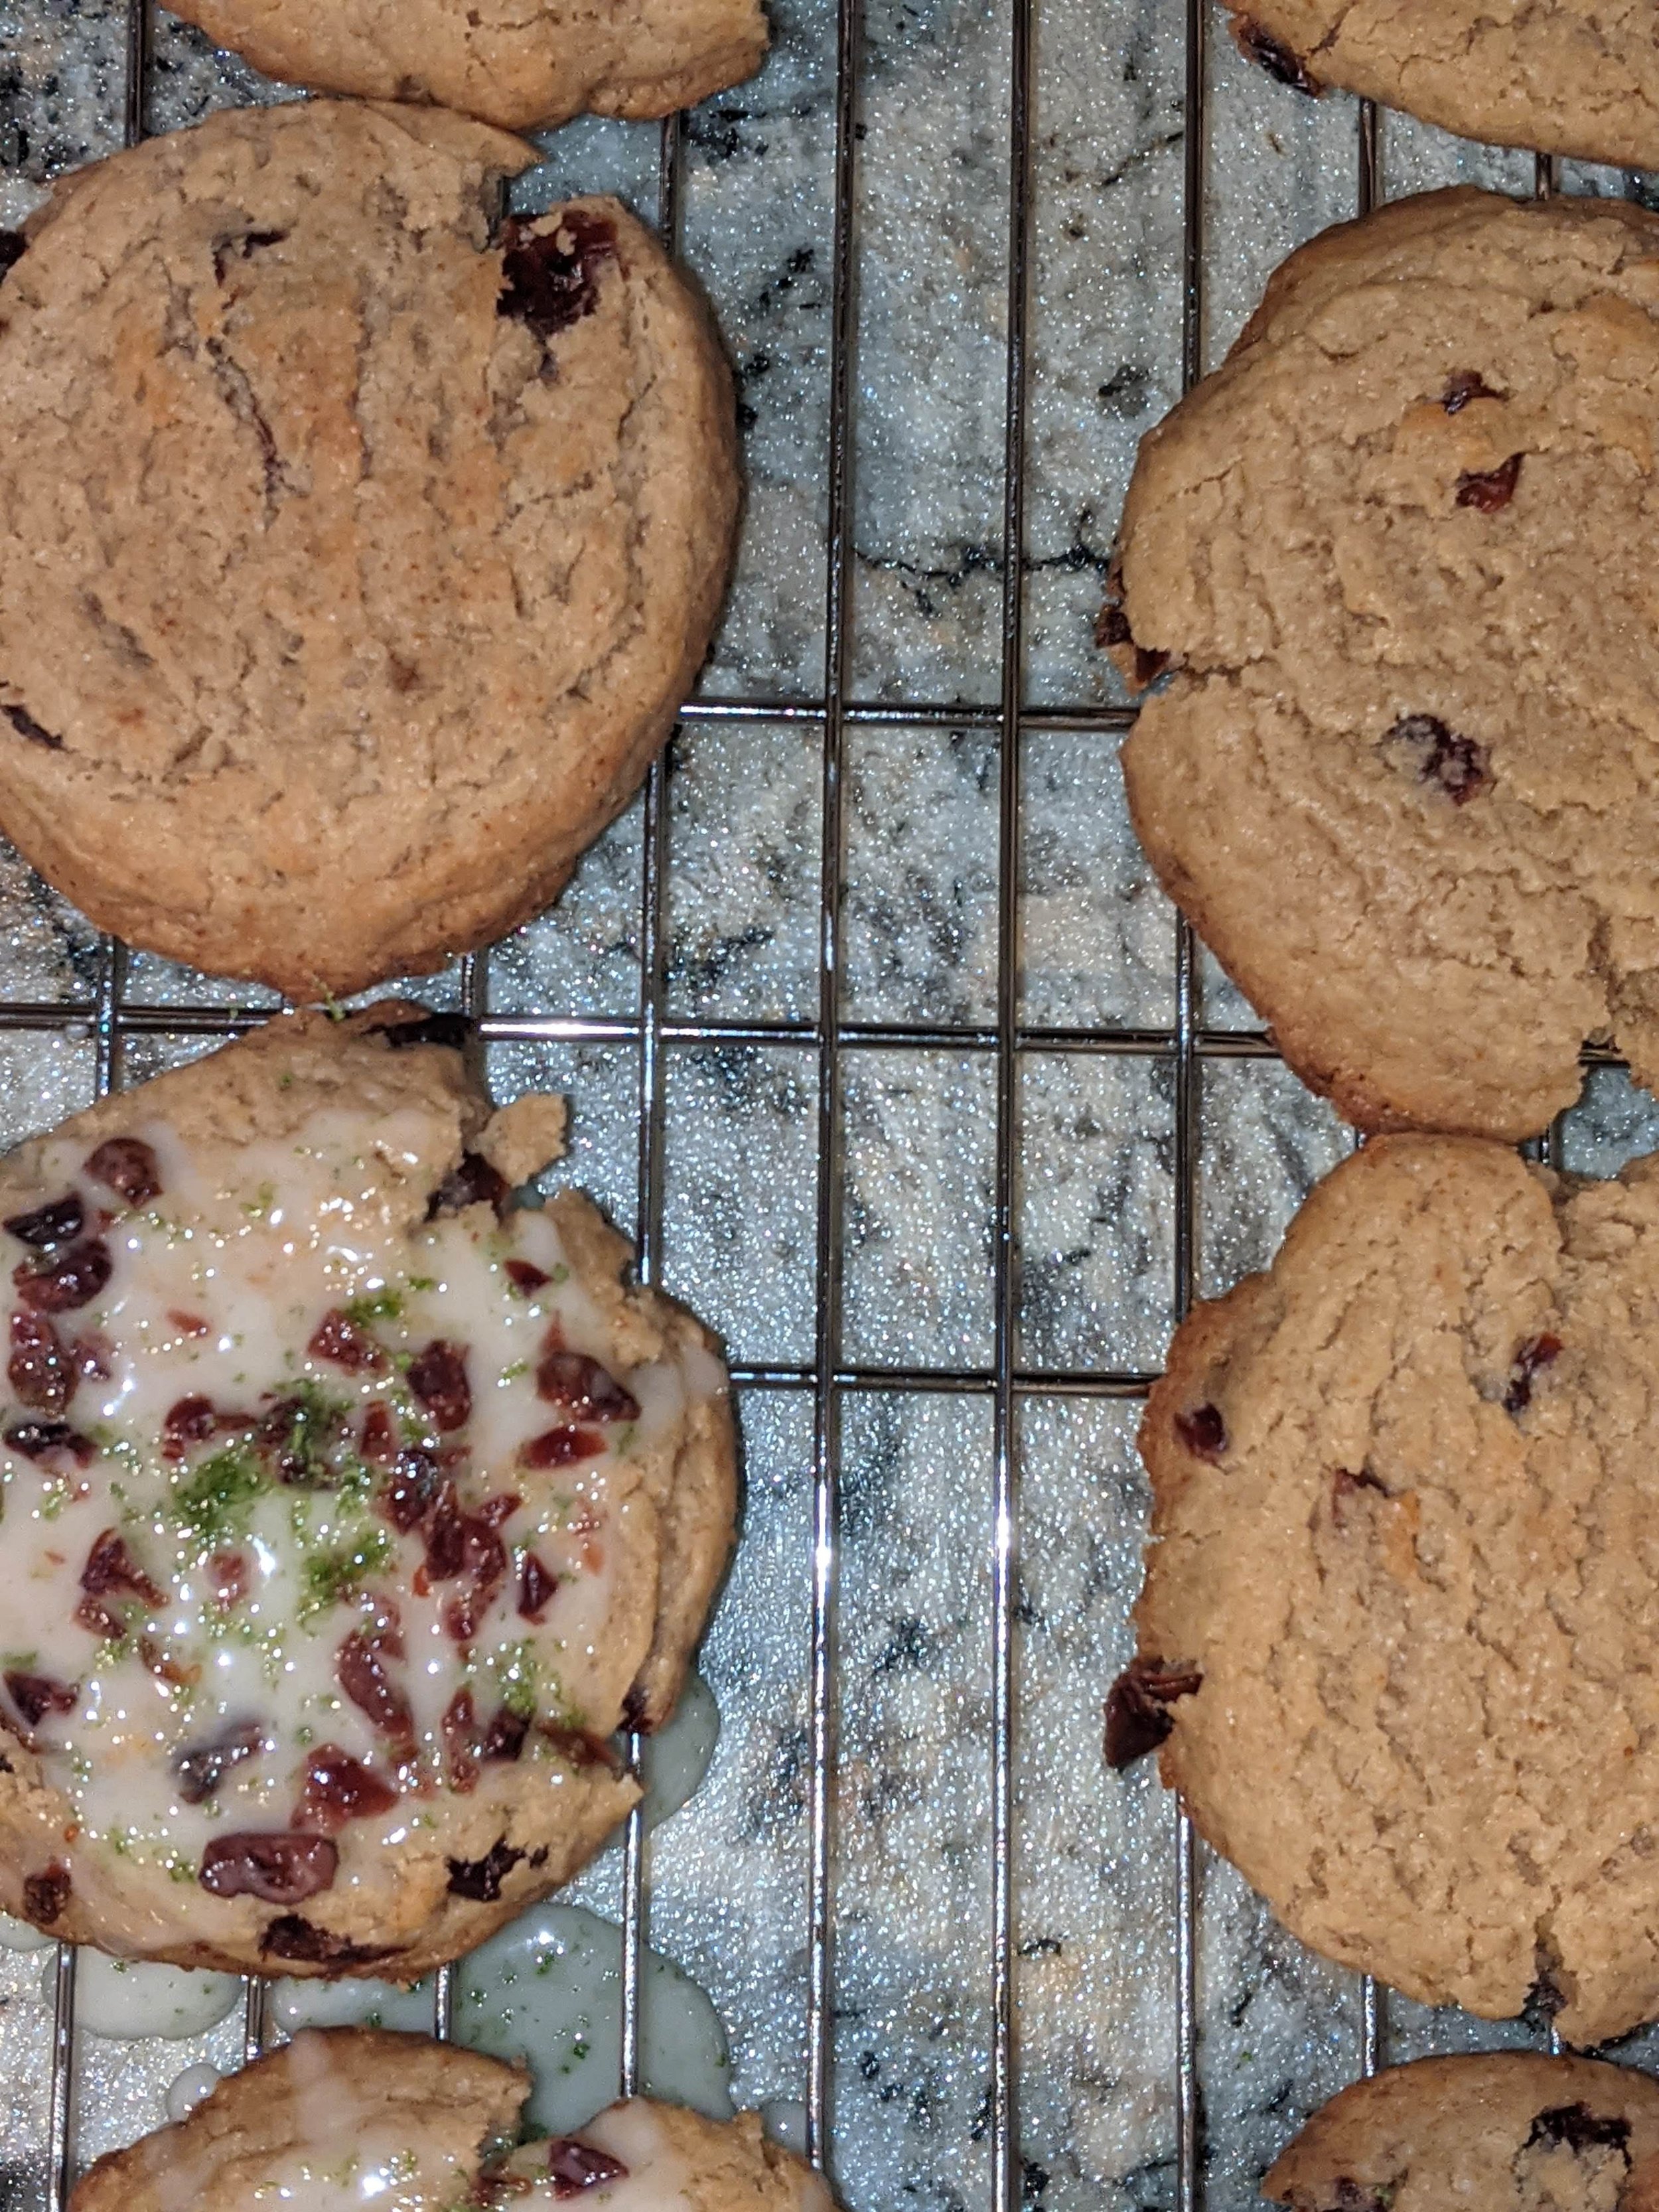
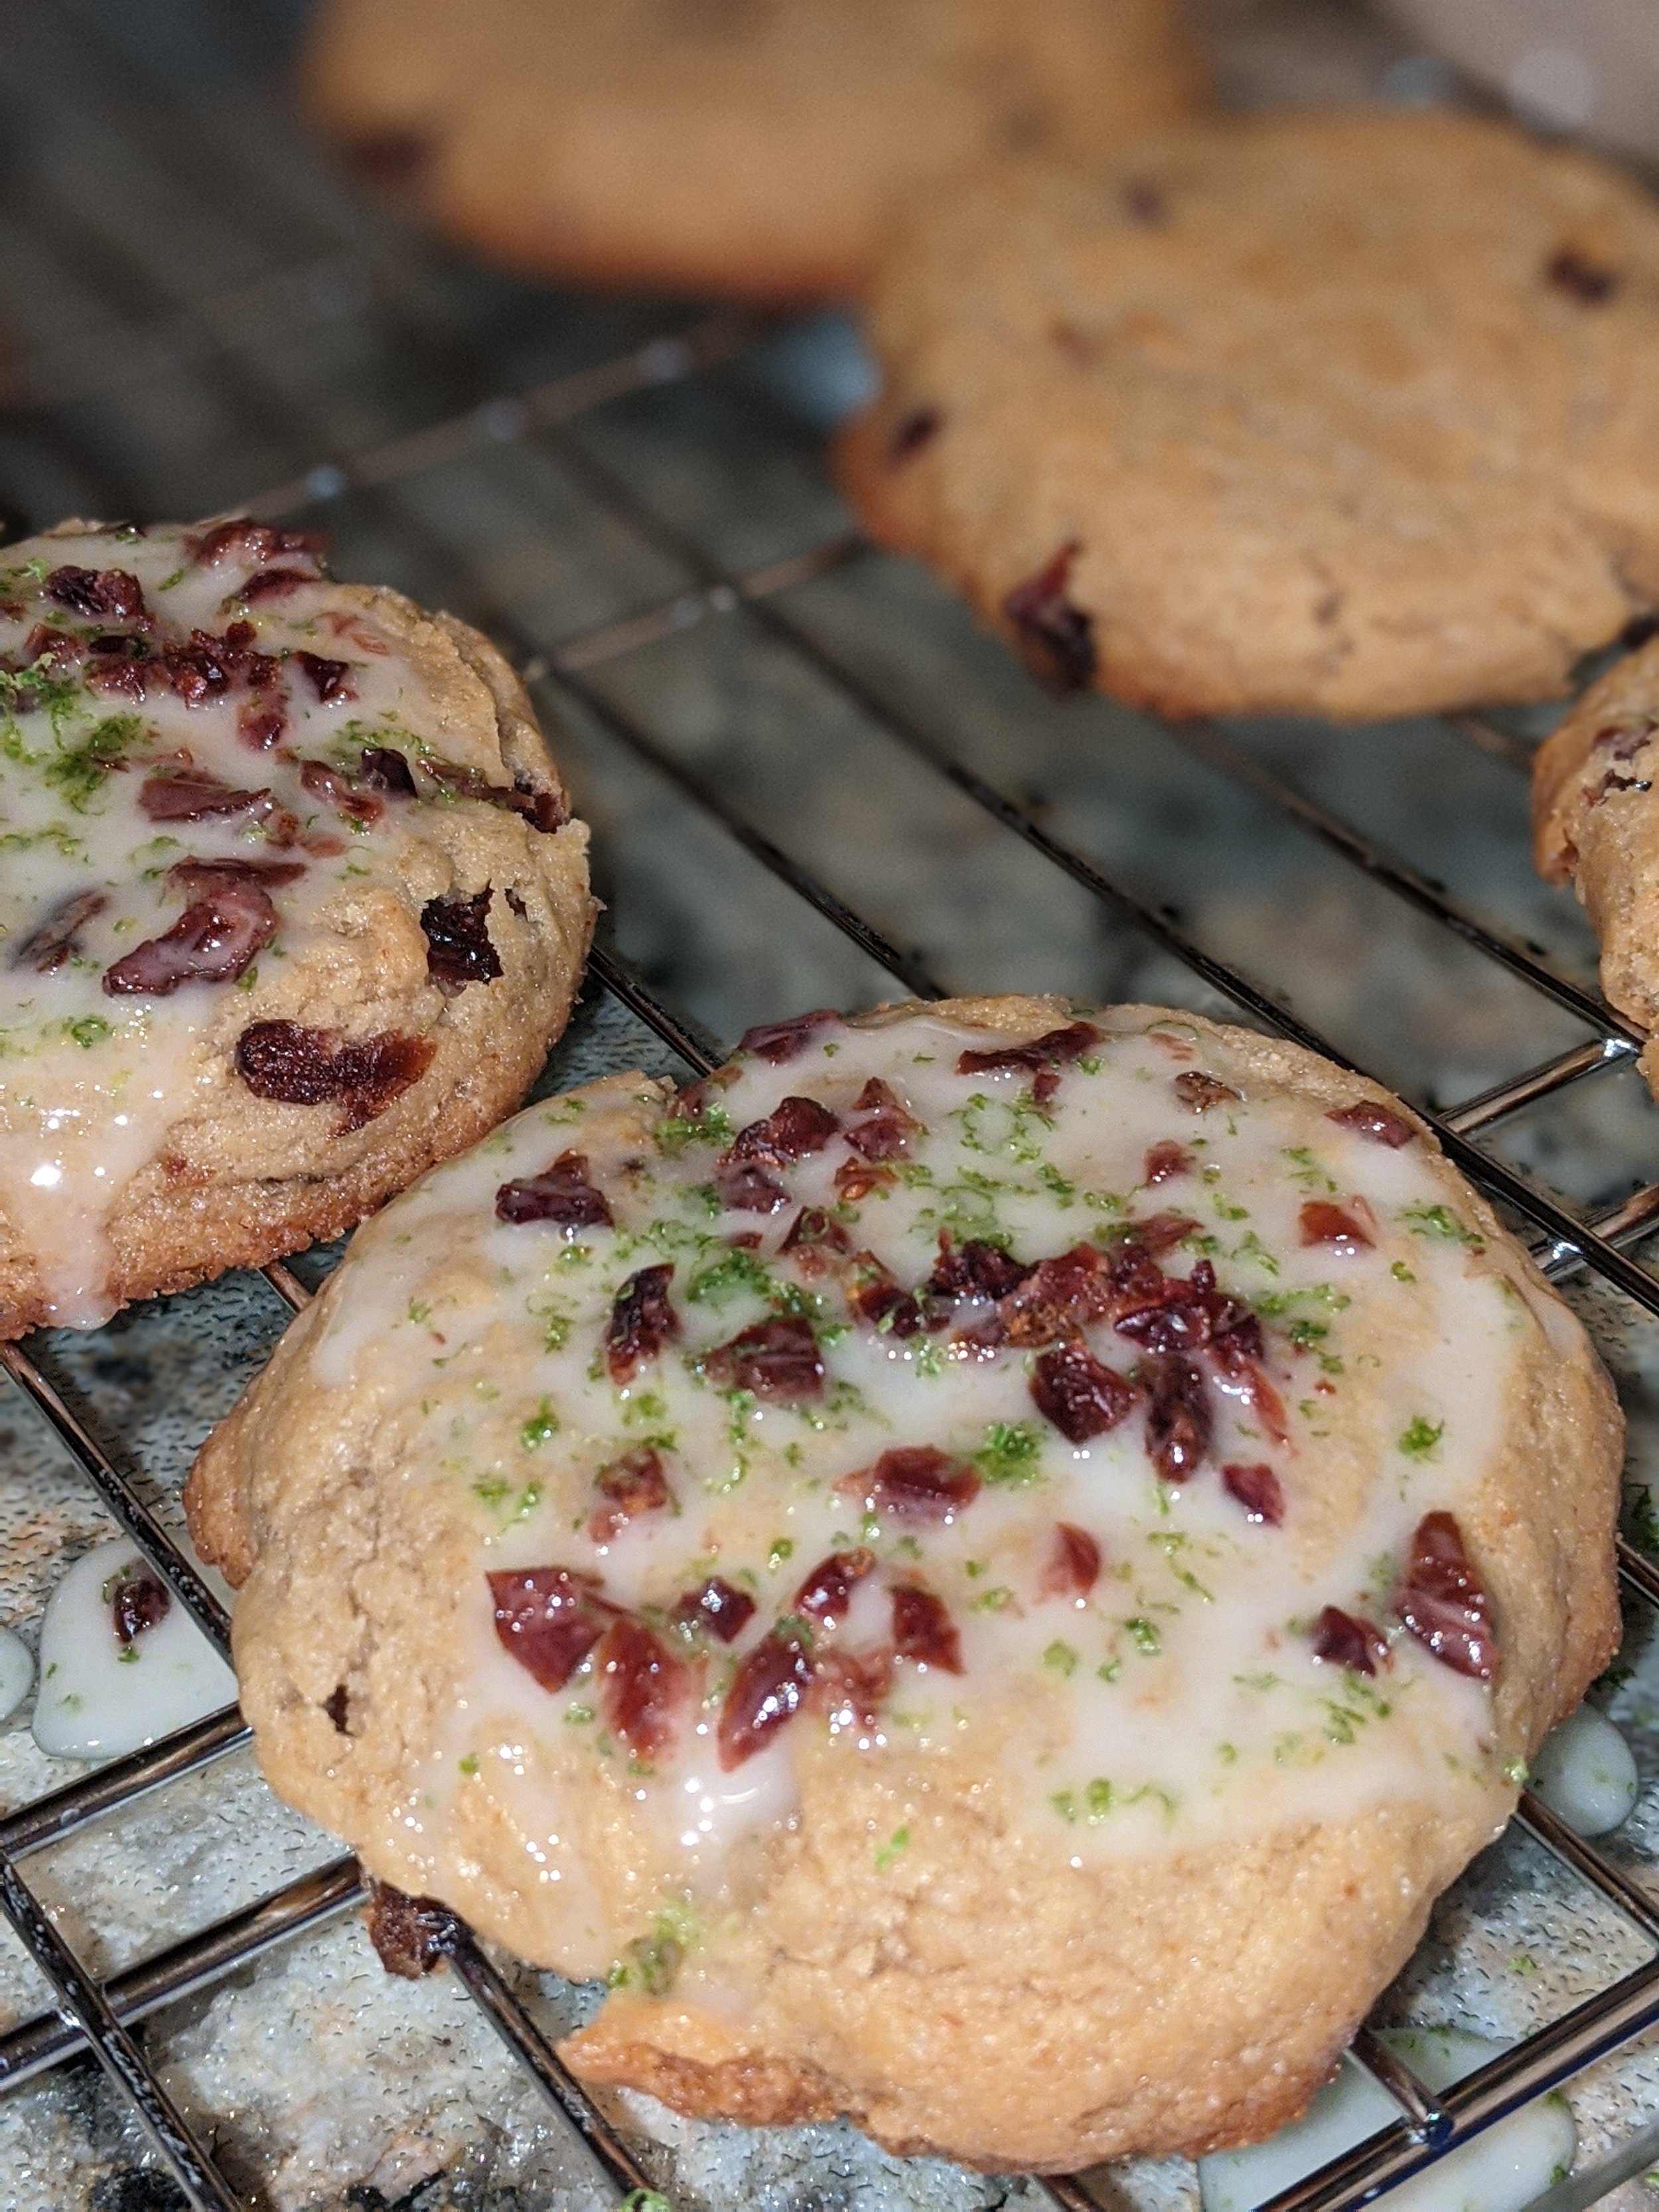
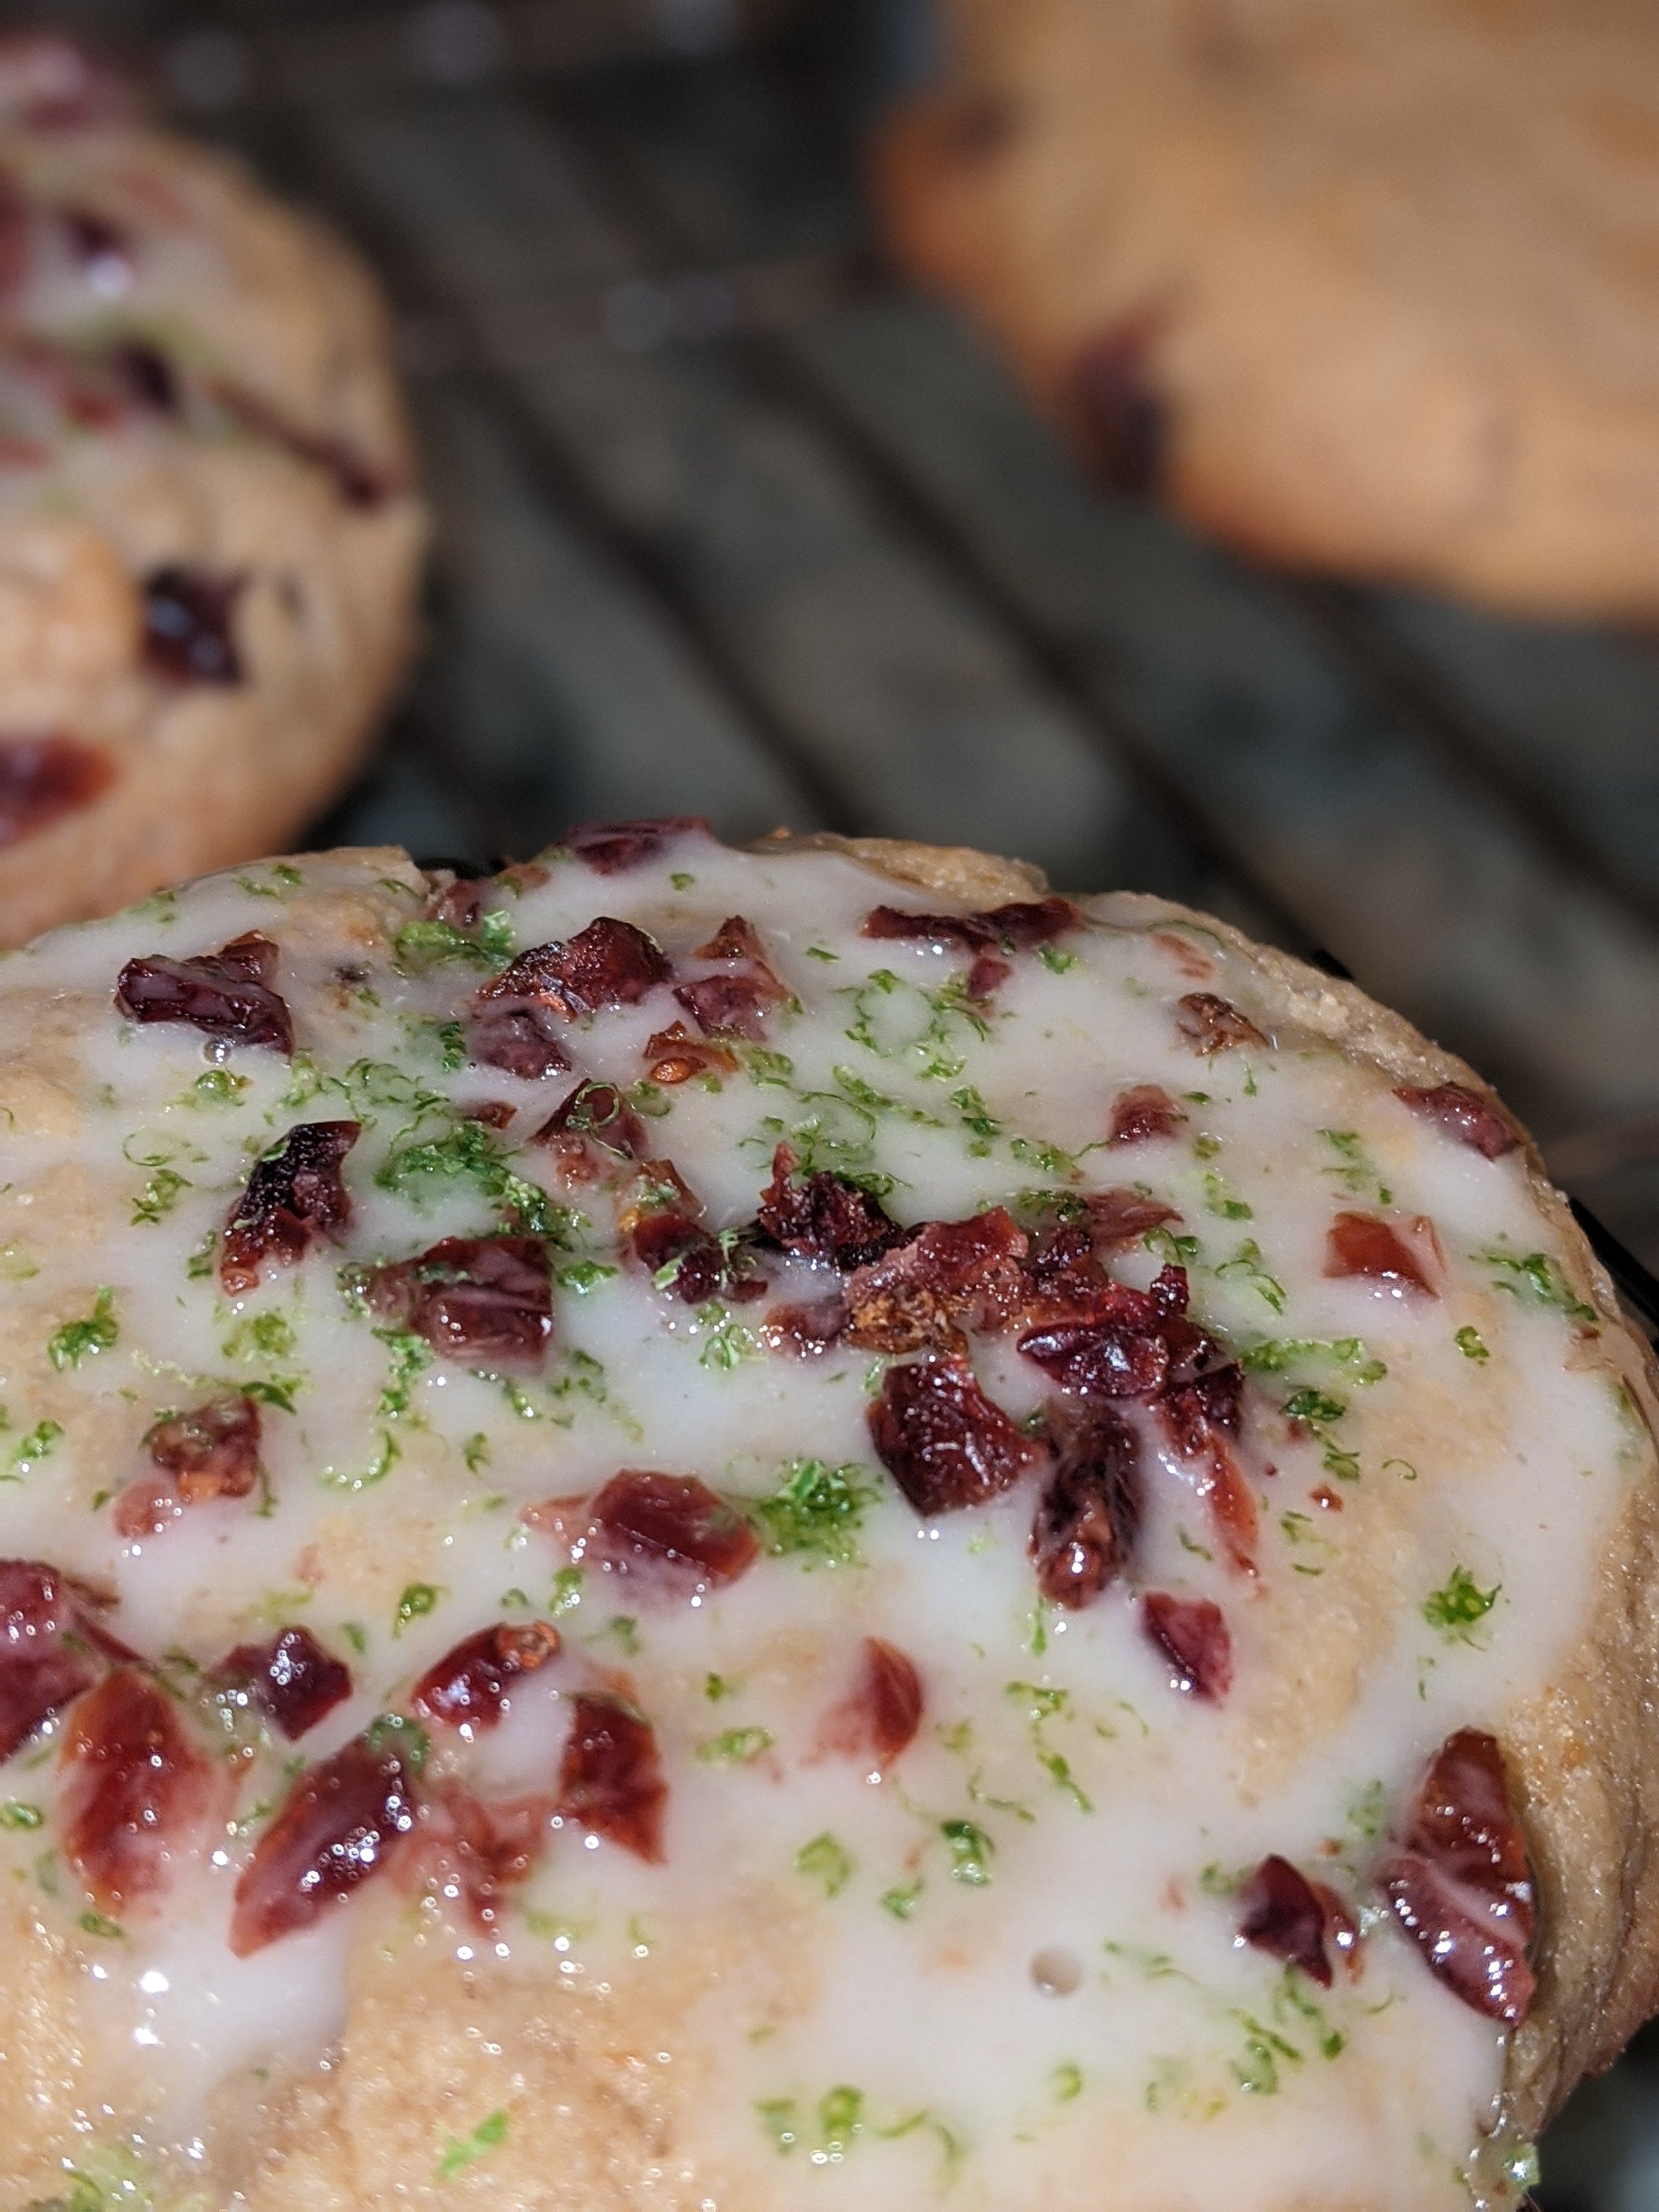
Yeasted Cranberry Cookies with a Zesty Lime Glaze
It has been a while…hello again :)
In this post, I’ll share a cookie recipe I developed over a year ago when I found myself wanting to make cookies without eggs. This recipe also includes neither baking powder nor baking soda. I had yeast on hand and that led to my Yeasted Cranberry Cookies. The recipe is below, up first, followed by some recipe dev notes and a recipe and tasting video.
Read On, Bake On.
Yeasted Cranberry Cookies with a Zesty Lime Glaze
Hearty cookies dressed up with a zesty glaze that are sure to delight your tastebuds!
Ingredients
For the cookies:
2 c flour
1 c butter (if unsalted, add 1/4 tsp salt), softened
1/2 c granulated sugar
1/2 c dark brown sugar
1/2 c dried cranberries (aka craisins)
1 pack (1/4 oz) rapid rise (instant) yeast
1/4 c tepid milk
For the glaze:
1/2 c powdered sugar
1/4 c dried cranberries (aka craisins), chopped
1/4 c fresh lime juice
Zest of 1 lime
Method
For the cookies:
Add the yeast to the milk and let the mixture sit for about 5 minutes, until it’s a little foamy.
Cream together the sugars and butter until light and fluffy.
Fold together the yeast/milk mix, sugar/butter mix, and flour. Fold in the dried cranberries.
Using a large cookie scoop, scoop out the cookies onto a parchment paper-lined cookie sheet. For smaller cookies, see the Recipe Dev notes for a tip to keep in mind.
Let the cookies rest for 30 minutes. Cover with cling wrap if desired.
Pre-heat the oven to 350 degrees Fahrenheit.
Once the cookies are rested, remove any cling wrap or covering and space out the cookies.
At this point, you can choose to flatten the cookies slightly before baking or pop them right in the oven.
Bake for 18-20 minutes. Check for doneness: the cookies shouldn’t appear wet in the middle. If you didn’t flatten them in the previous step, flatten them a little with a spatula and bake for another 3 minutes or so, until done.
Let the cookies cool completely before glazing!
For the glaze:
Whisk together all of the ingredients, adding a little more powdered sugar or a little more lime juice to reach your desired consistency.
Spoon the glaze over the cooled cookies and let it set before serving. Optional: Dust the cookies with powdered sugar while the glaze is setting for an extra pretty presentation.
Enjoy your cookies!
Recipe and Tasting Video
Keep in mind that the recipe above is an updated version (V2) I developed based on my experience with the recipe (V1) you’ll see in the video below.
Recipe Dev Notes
The Yeast and The Resting Time - I don’t recall exactly what led to the decision to make cookies with yeast but I do remember wanting to make cookies and needing a leavening agent. I thought yeast would be a good thing to try and I was curious about how yeasted cookies would turn out (and I’m still thinking about a cool name…”creads”? “breadies”? “cookie breads”?….).
The resting time is my attempt at allowing the cookie dough to “rise” like we do with bread. Future versions of this recipe may or may not include this step but I did it in V2 and the cookies turned out nicely!
Tepid Milk - The milk (and the sugars in the milk) help to activate the yeast and help the leavening process along. The milk should be warm - tepid, not hot. This is because you don’t want to kill the yeast with milk that is too hot. You can use your finger to judge if the milk is tepid. It shouldn’t feel hot when you dip your finger in it. Alternatively, you can use a food thermometer to check the milk’s temperature and aim for a temperature in the 100 - 110 degree Fahrenheit range.
Softened Butter vs. Melted Butter - Depending on the cookie texture you’re going for, and the other ingredients in a recipe, melted butter may come in super handy. As a general rule of thumb, however, plan for softened butter - at least this is what you’ll see in many of my upcoming cookie recipes! The softened butter’s structure gives way to incorporating air into the cookie dough during the creaming process along with the sugar. Additionally, water remains in softened butter and my understanding is that you lose just a little bit of that water as steam when you melt butter. During the baking process, water in butter evaporates as steam and further defines your cookie’s structure. Therefore, the more butter-water-content (hahhaha, I wonder if that’s a word) you start with, the more steam is created during the baking process that leaves pockets in your cookies which makes them chewy, flaky, cake-y, etc.
Salted vs. Unsalted Butter - Similar to the softened vs. melted butter conversation, this one really depends. My general approach is to use unsalted butter by default. This way you can control the amount of salt used in your recipes. This level of control is especially important in baking recipes. No fear though - use salted butter if that’s what you have on hand! Just be sure to be mindful of (i.e. don’t add) extra salt that appears elsewhere in the recipe unless it’s something special like sprinkling flaky salt on top of some chocolate chunk cookies…yumm….
Cookie Size - The recipe mentions using a “large cookie scoop” which, for me, was a regular sized ice cream scoop. The cookies were a good size and one was more than enough for 1 person. If you want to make smaller cookies, be sure to adjust the cooking time. For cookies scooped with a medium cookie scoop (something like a #40), my guess is that you should check the cookies after 12-14 minutes instead of 18-20 minutes.
The Glaze and The Zest - The glaze adds a really nice finish in both appearance and taste to the cookies! It’s not really needed but it’s definitely recommended. The zest is an especially cool flavor note and, along with the lime juice, adds some bitterness that helps to balance out the buttery qualities of the cookie. The acidity of the lime juice also helps to make the glazed version of these cookies more well-rounded in that regard - balanced, buttery, chewy goodness!

Will you try these at home?! If you do, let me know by leaving a comment (below or on YouTube) or by sending me a note!
Thanks for reading!
Jewel